
Finally, the long-awaited first episode of the BAJA-PROOF series is here, featuring the first two tips and two super useful items that will make your life in Baja much easier.
(Full list of all BAJA-PROOF products tested so far here )
Terms of use: The tips and modifications suggested in this section of the site are to be considered as potential ideas only and should be followed at your own risk. Bikepackingbaja.com, its partners, associates, and contributors are in no way liable for personal injury, damage to personal property, or any other such situation that might happen to individual riders who decide to implement these suggestions.
tip:
LIFE-SAVERS BRAKE LEVERS EXTENSIONS
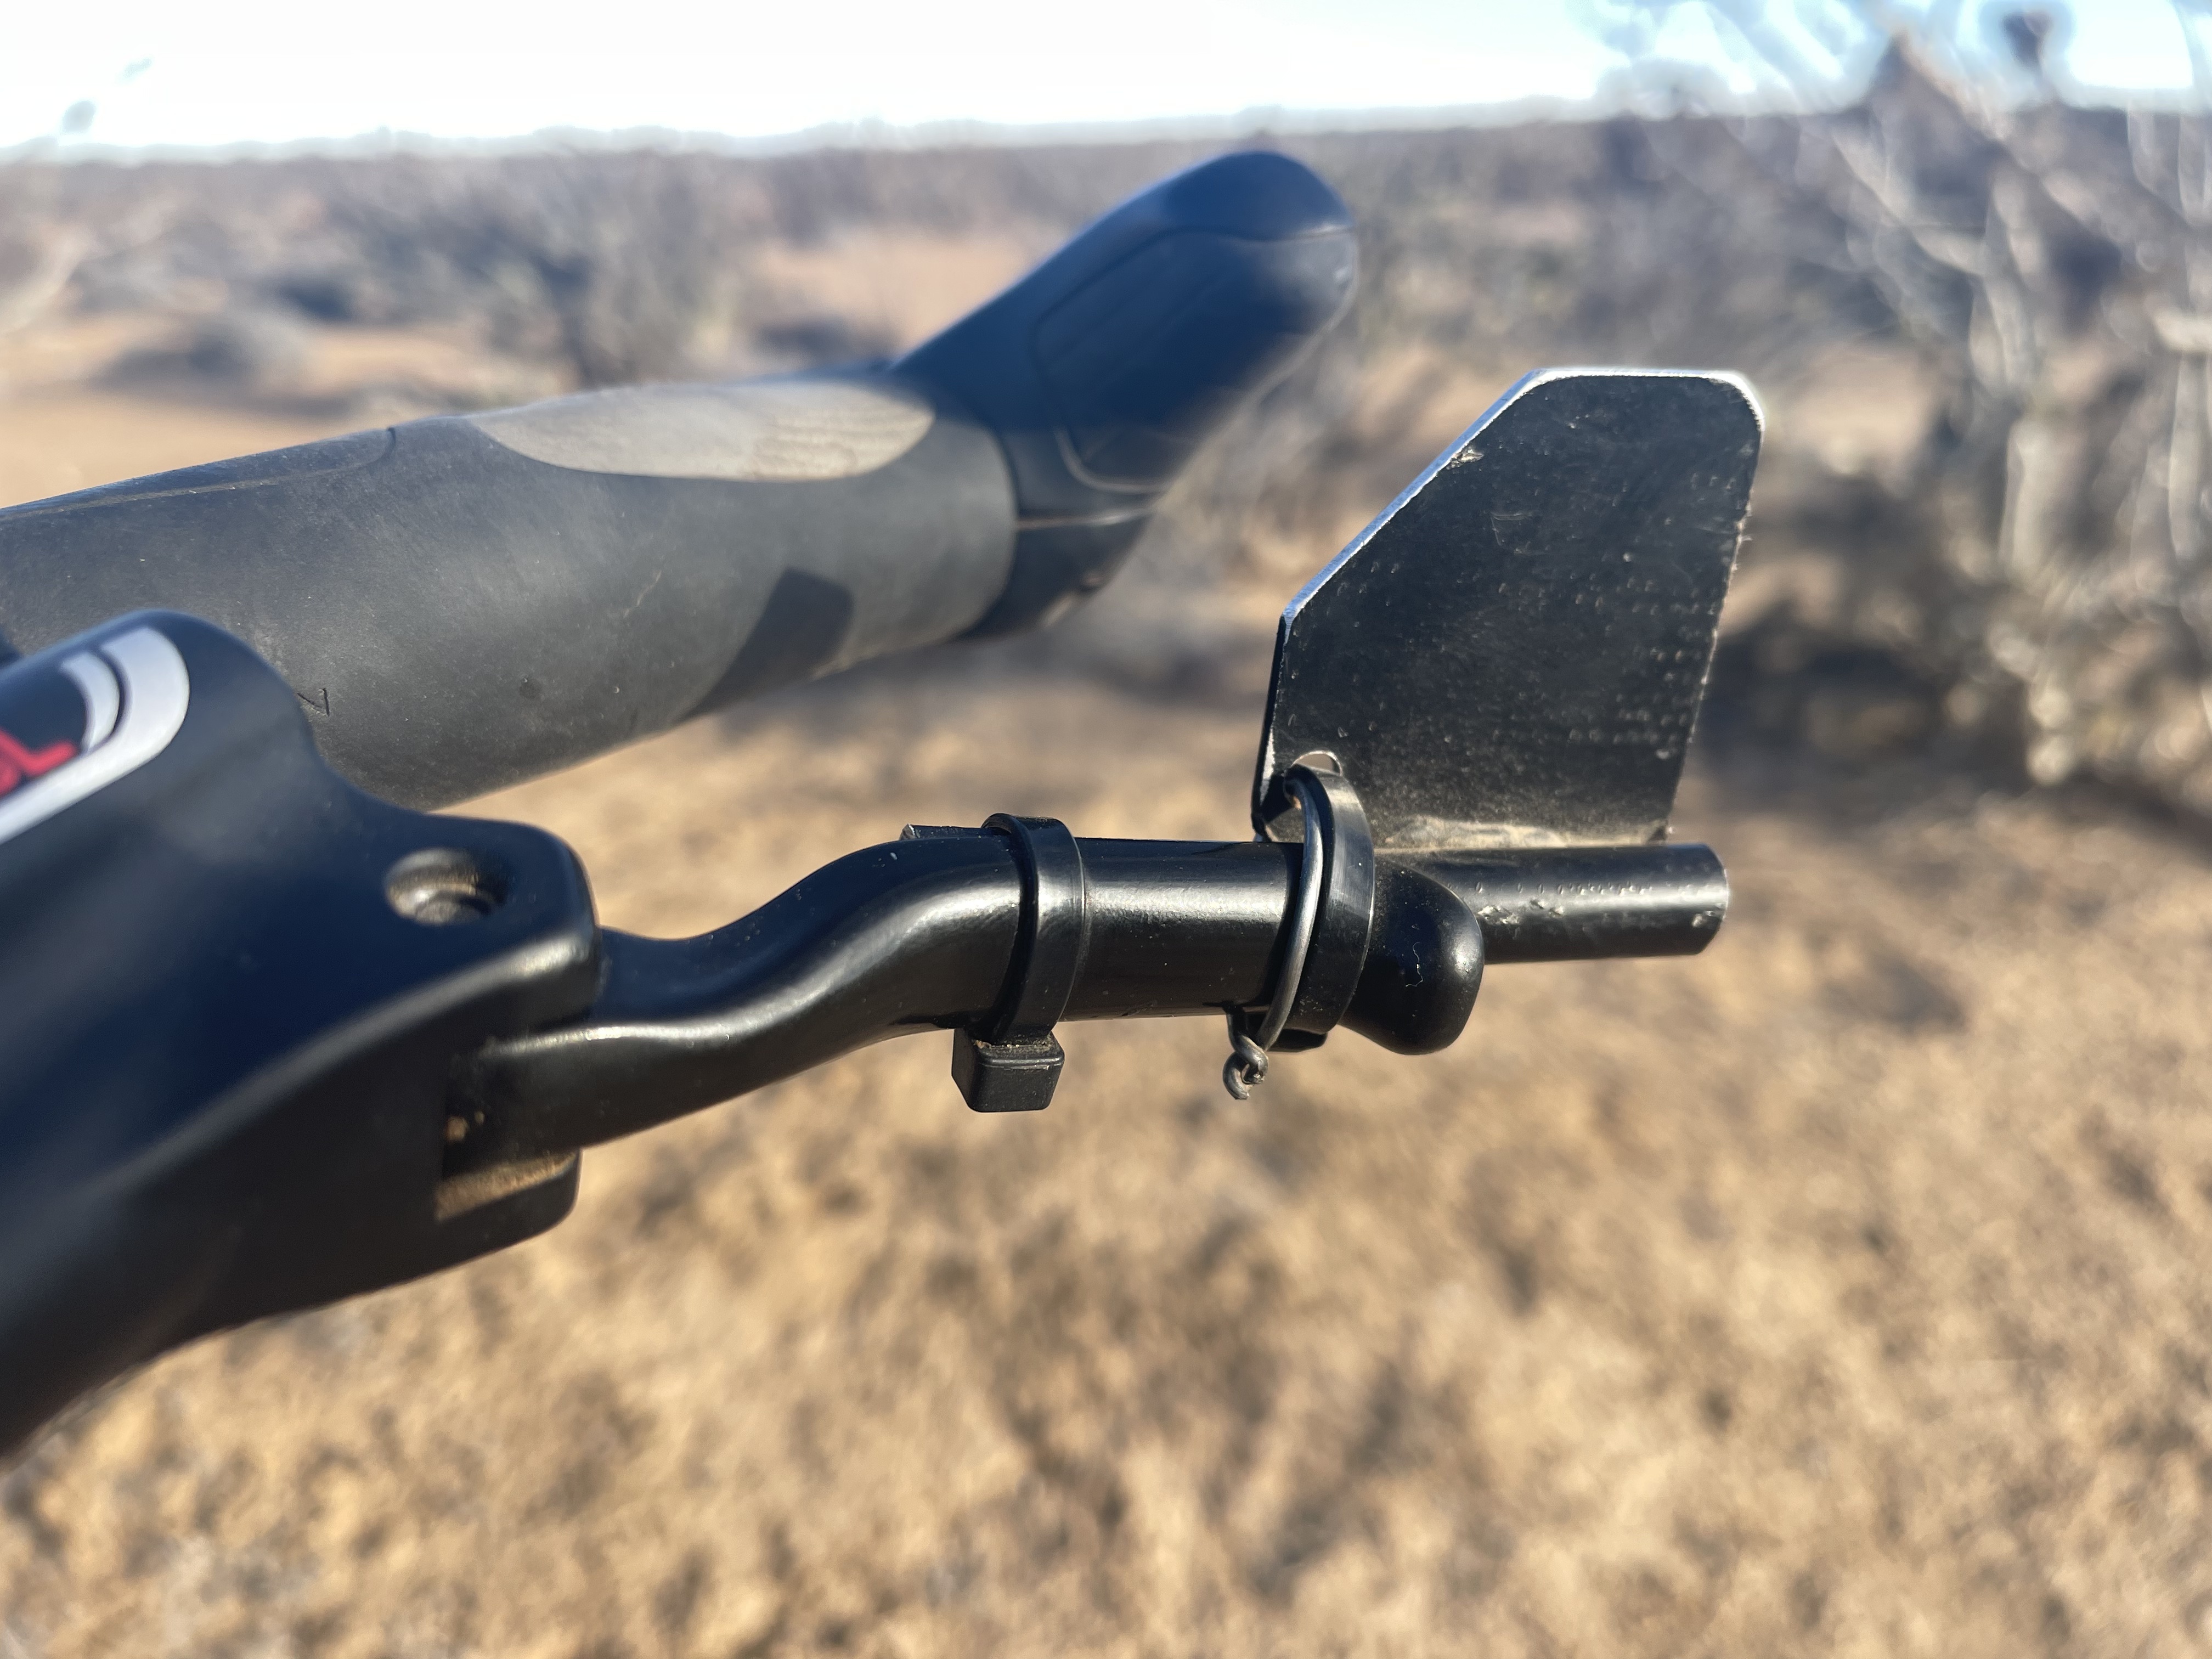
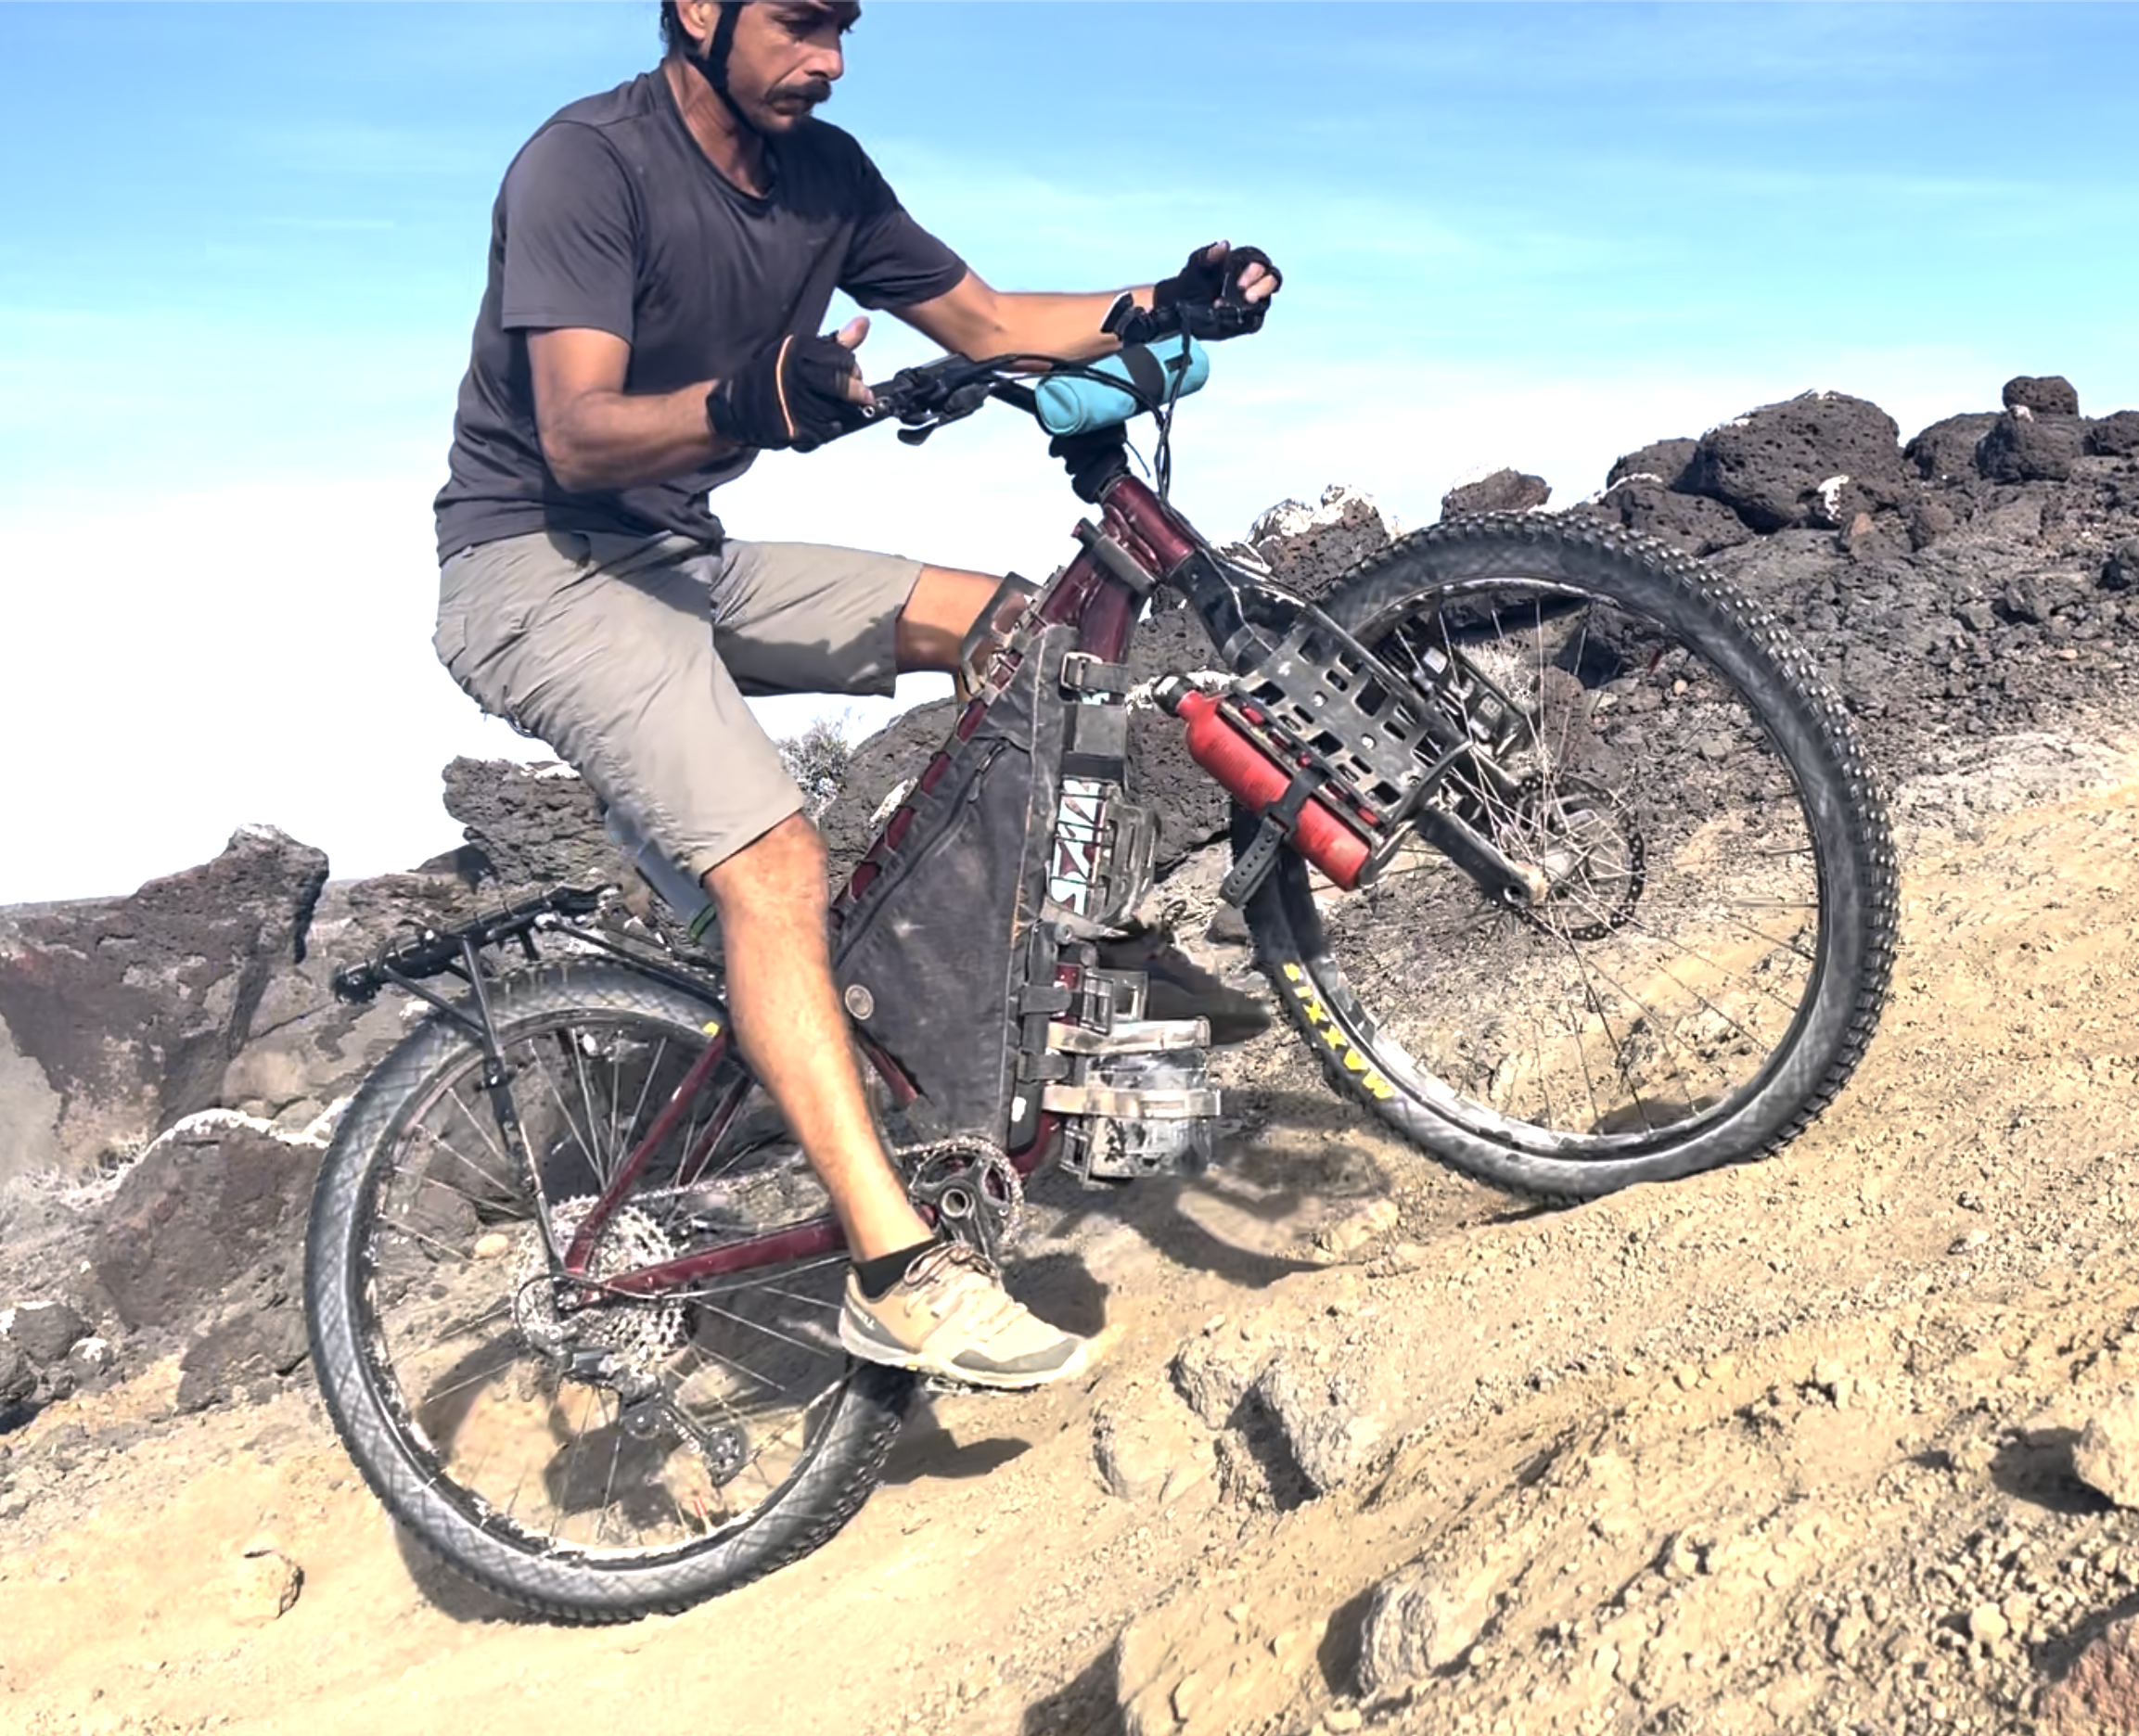

Here it is! The number one Baja-proof gadget—the most admired and photographed by all travelers, and for reasons unknown to me, also something you have to build yourself because, as of now, no one produces it. Incredible but true, these two small paddles, which at first glance might look like rearview mirrors, can save riders from inconvenient and dangerous falls in situations that often arise on the rugged climbs of the desert.
The idea came to me quite instinctively as soon as I installed the amazing Ergon Grips 2 on each end of my handlebars. The phenomenal position your hands take on the Ergon grips is so comfortable and efficient that it makes you want to stay there all day, especially while climbing, given the excellent traction and control they provide. However, there’s one vital function that inevitably forces you to leave this position and return to the regular grip since it’s not accessible from the bar ends—applying the brakes!
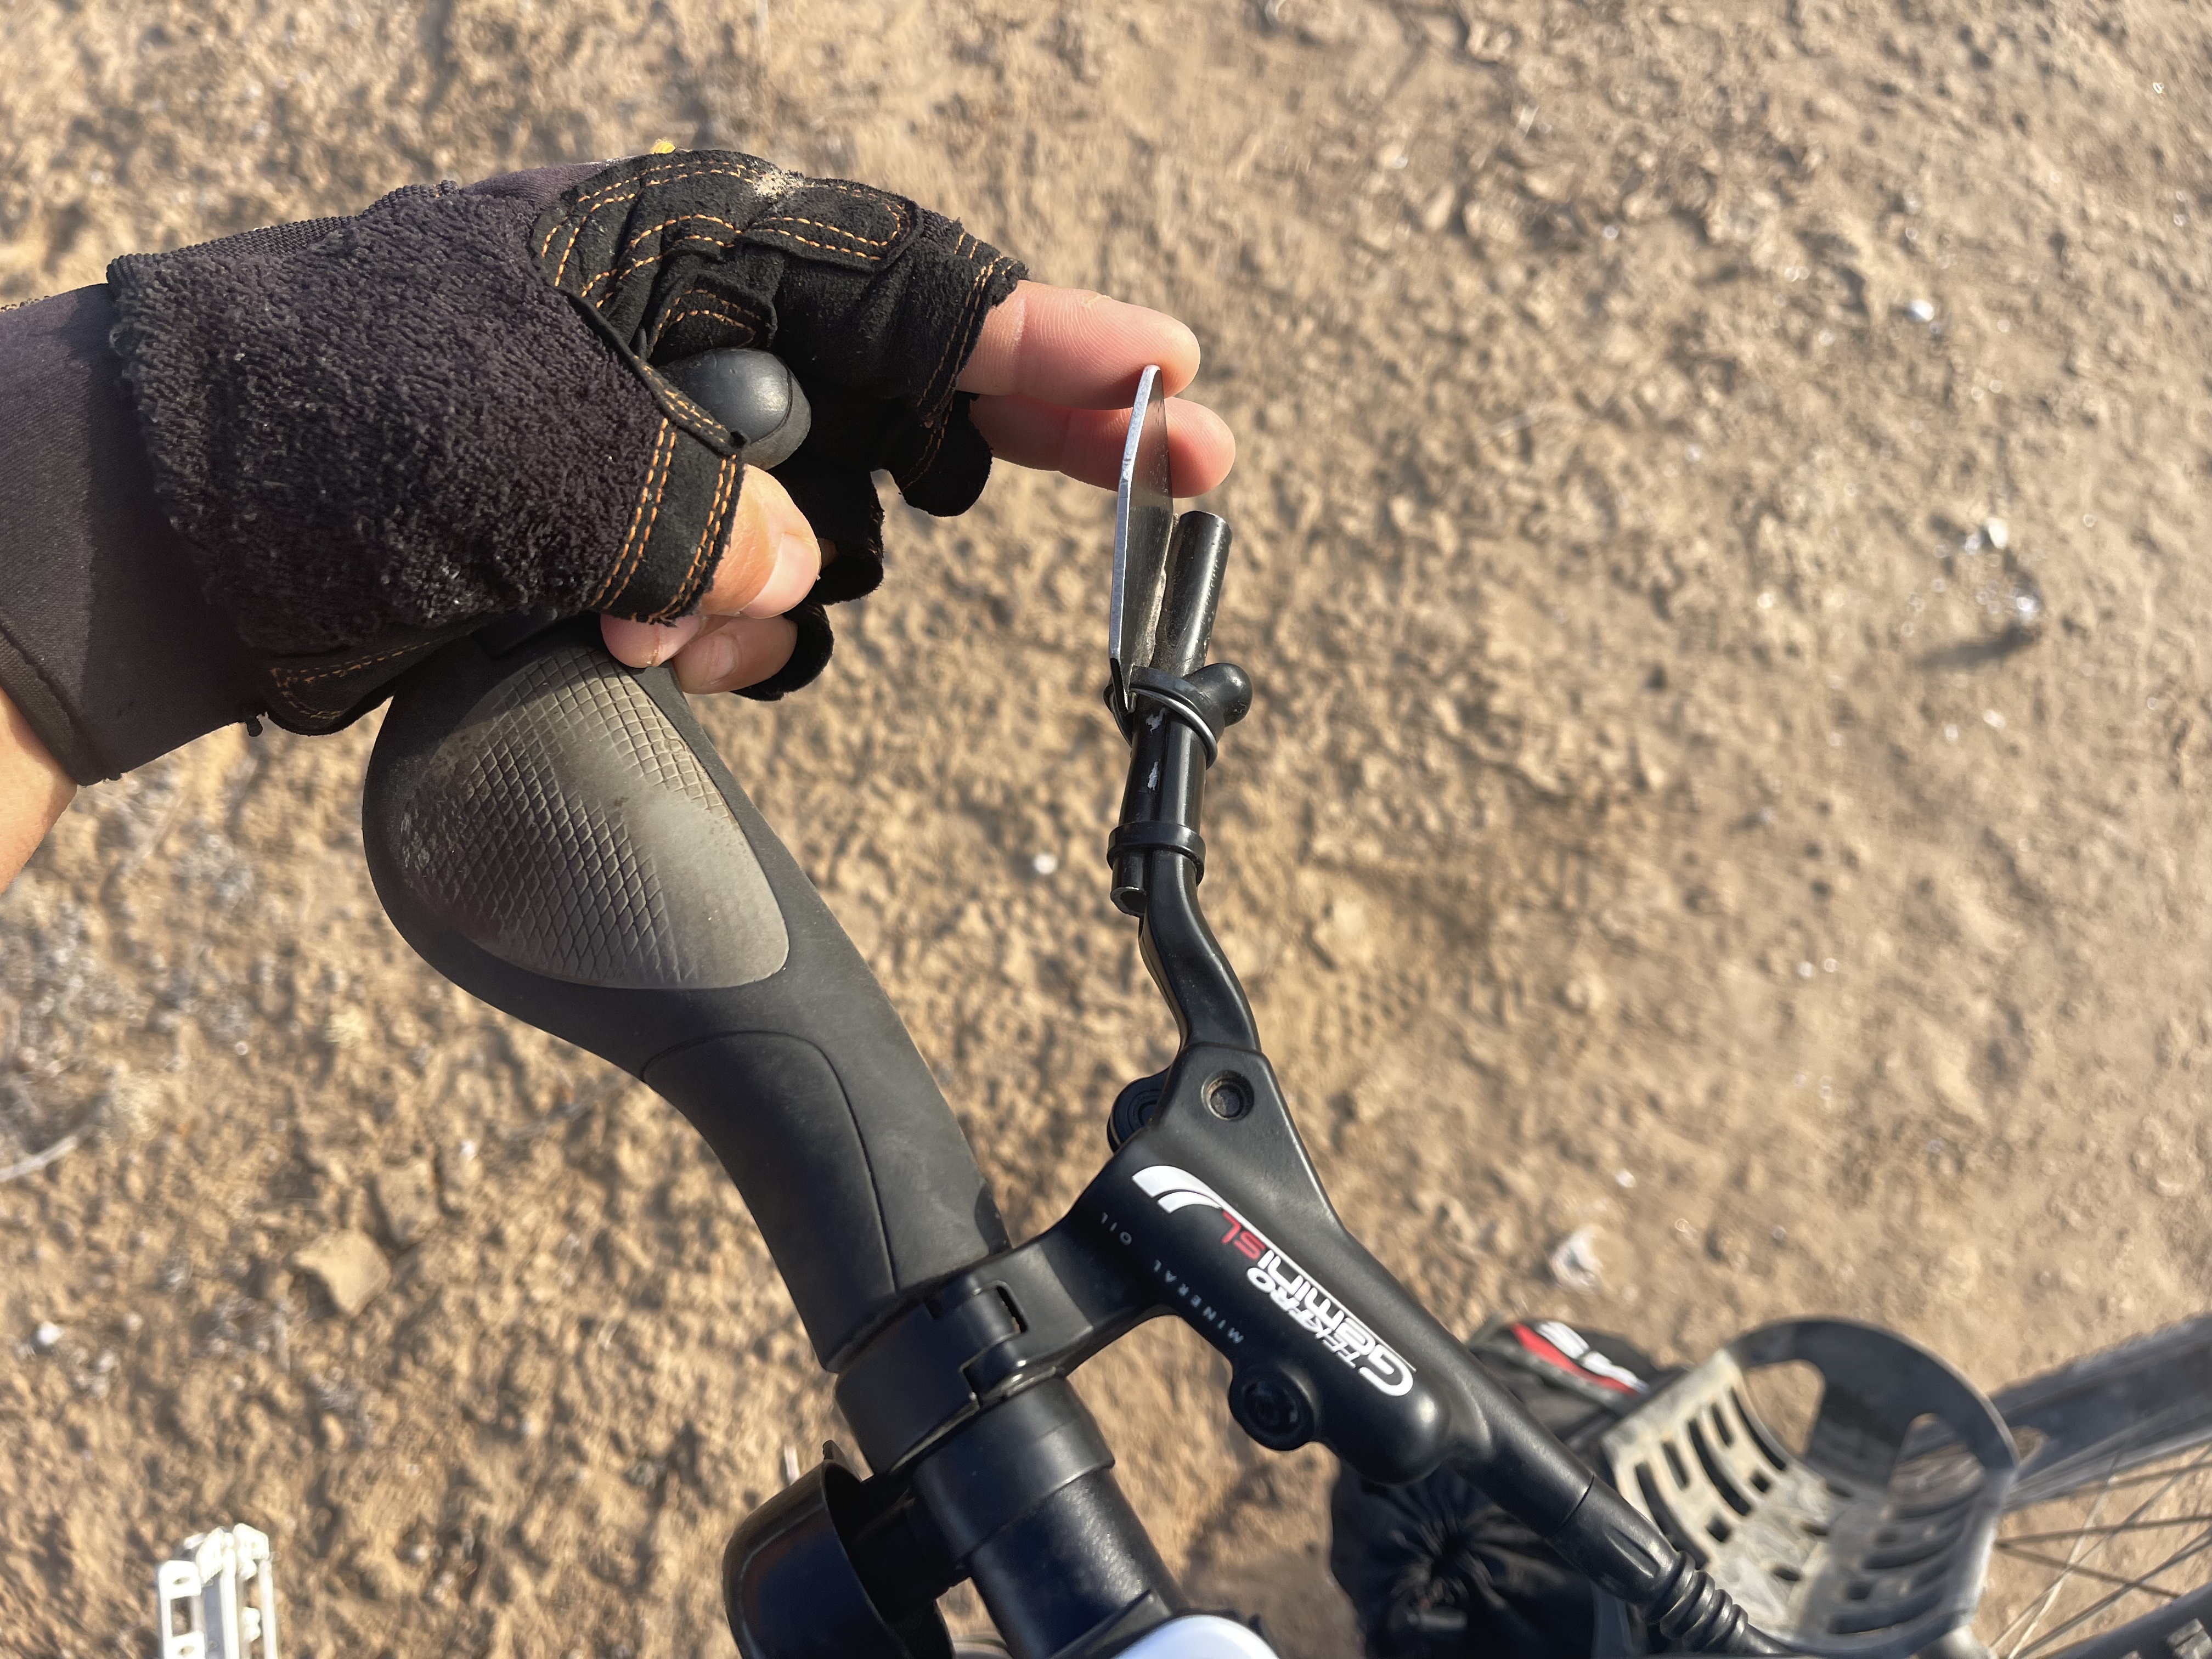
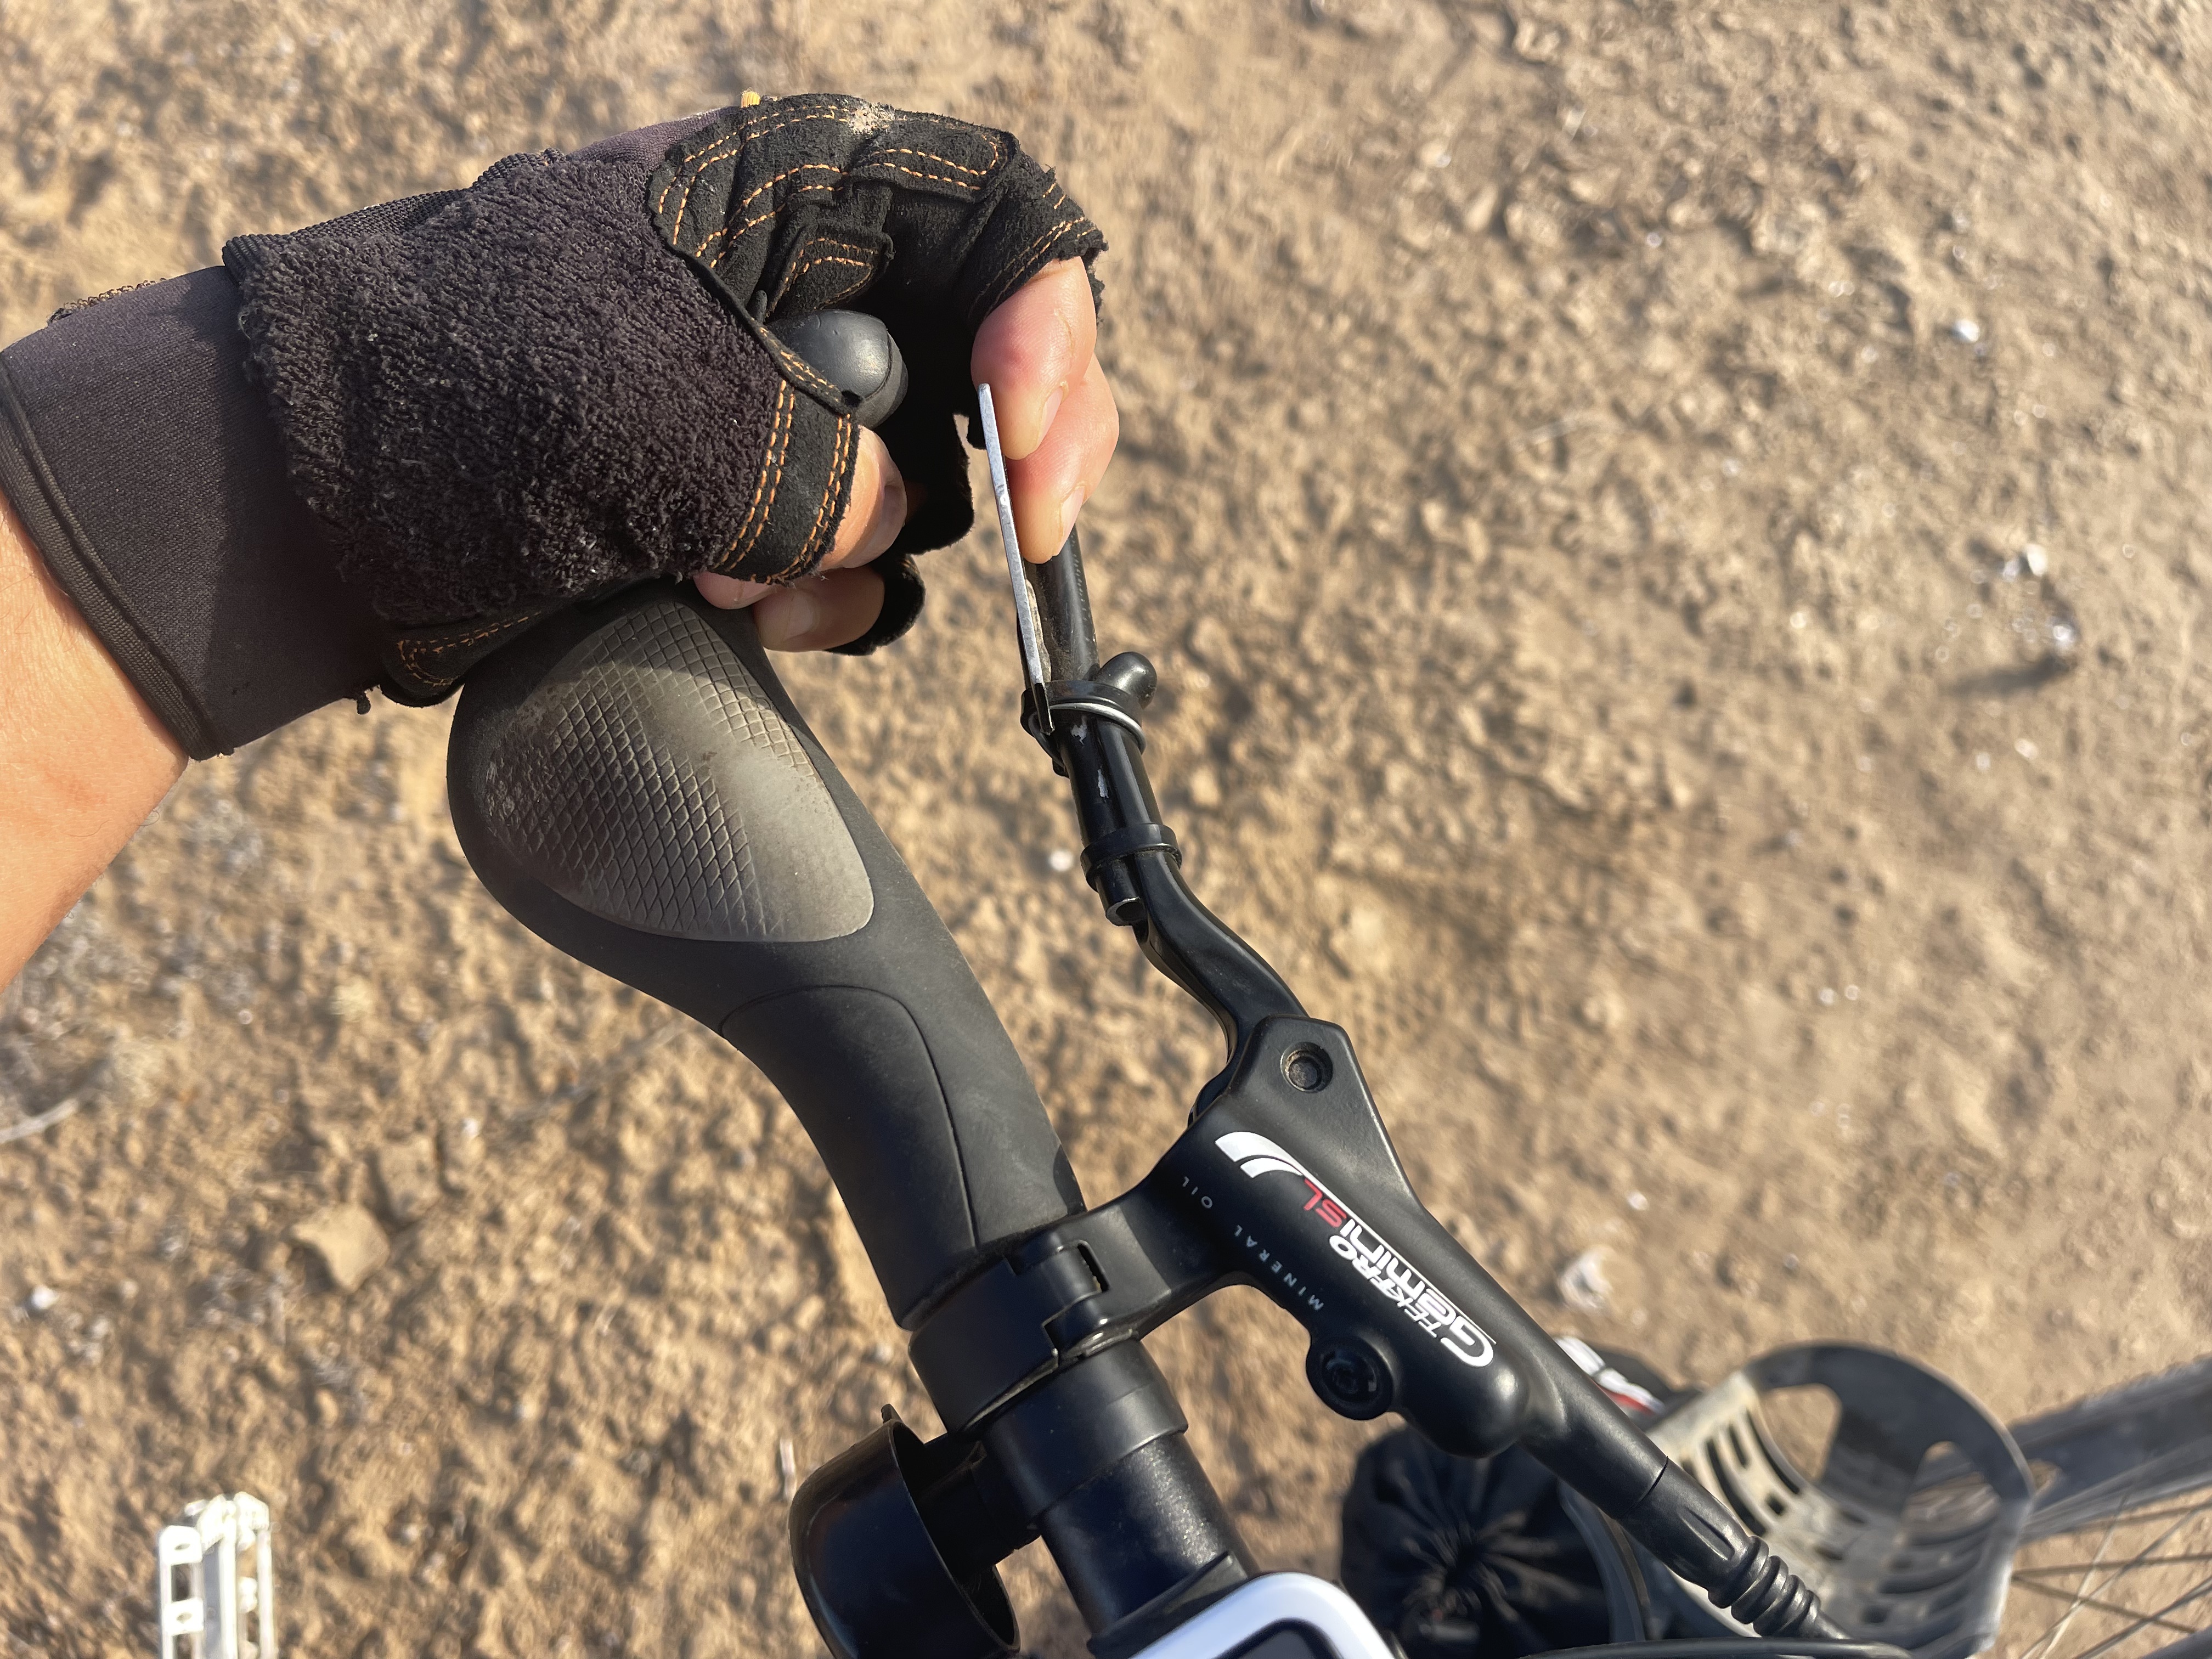
It often happens that you find yourself climbing technical hills with large rocks, sometimes on the edge of a cliff. It’s common to suddenly stop on the steepest part, with your wheel stuck on a rock that’s inconveniently in the wrong place at the wrong time. If you’ve been climbing with your hands on the bar ends, this forces you into the extremely risky maneuver of moving your hands back to the normal position to reach the brakes. You need the brakes to prevent the bike from rolling downhill due to gravity and to put your feet down safely.
Depending on how critical the spot is, this hand transition can take 1-2 seconds, during which the bike may start rolling backward, throwing off your balance. This forces the rider into a blind “jump” to put their feet down while moving backward—often with sweat in their eyes and heavy breathing—putting them at serious risk of a dangerous fall.
If, however, you can immediately apply the brakes as soon as you stop against the rock, thanks to brake lever extensions that eliminate the need to change hand position, dismounting becomes much simpler and far less risky. You come to a complete stop instantly, even on the steepest and most technical climbs, making the whole process much safer.
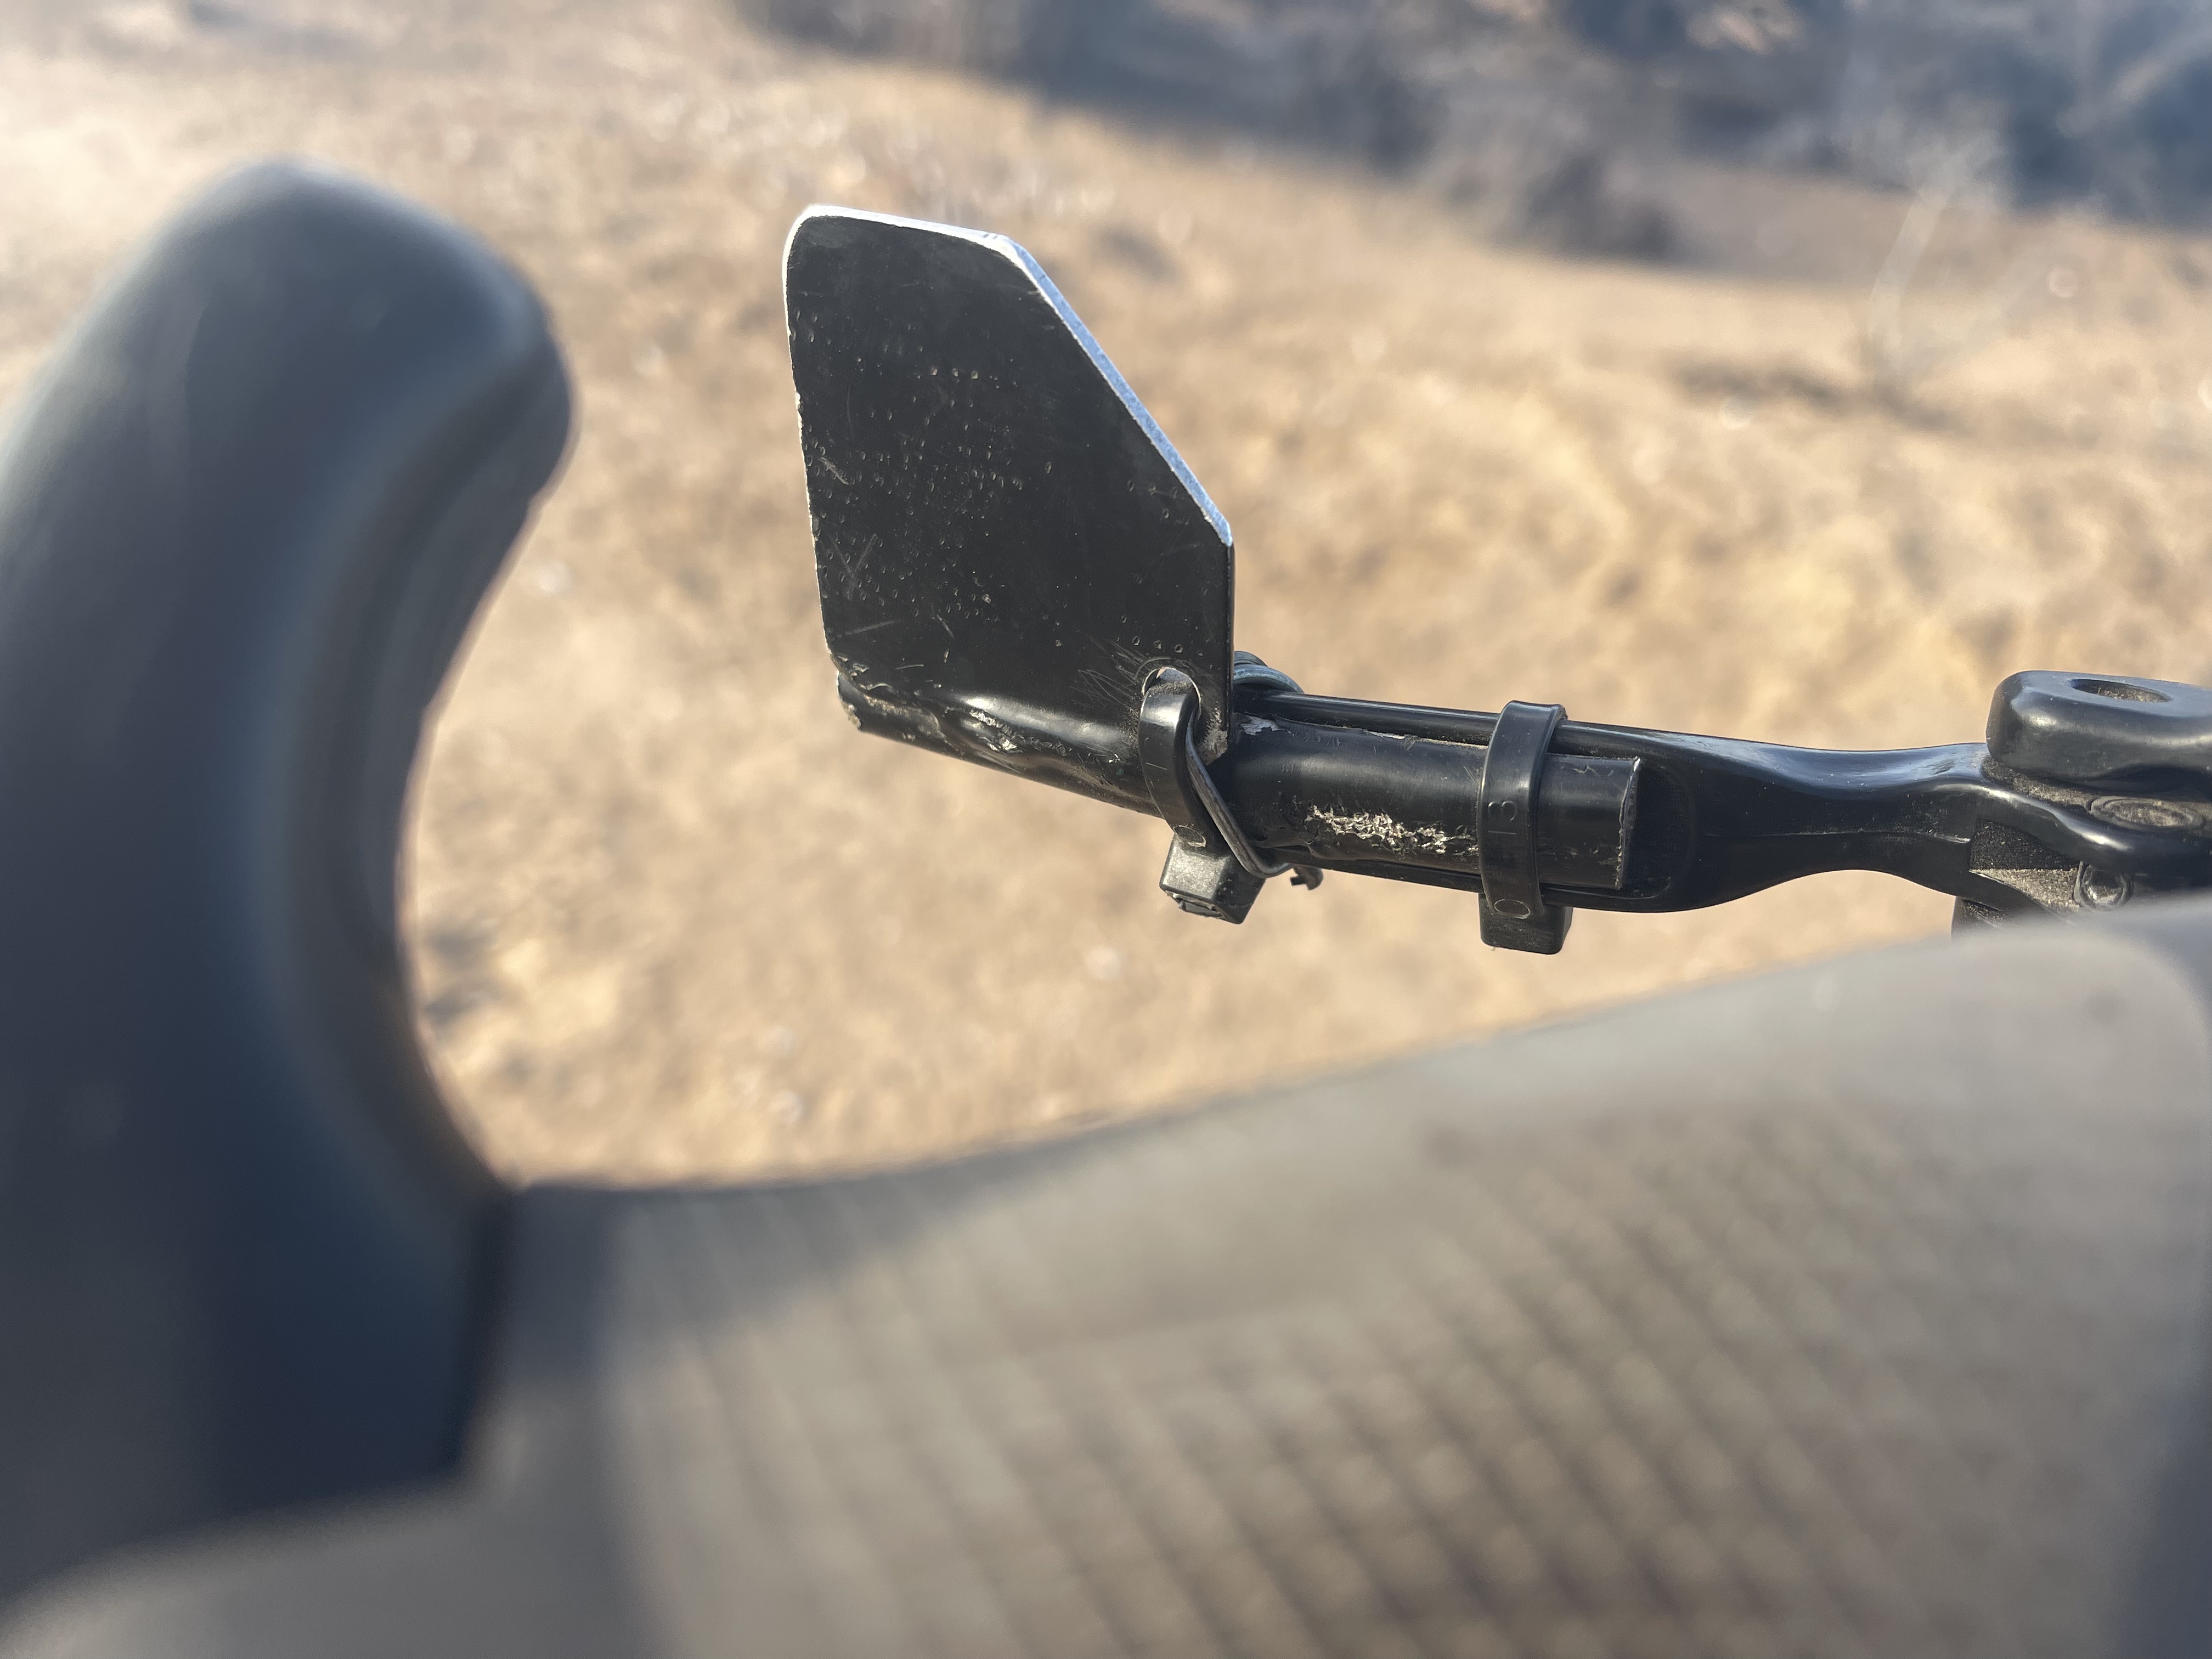
Alright, the most meticulous and critical of you might argue that the way my brake extensions are installed can’t withstand much pressure and wouldn’t be safe for hard braking. However, if you consider that 99% of the time on such demanding climbs—where there’s a risk of suddenly stopping—you’re moving at extremely low speeds, and that 99% of the time when you’re descending fast and might need to brake hard, your hands are in the normal position, gripping the standard part of the brake levers, I believe that making yourself two extensions like these from a piece of an old rack is an upgrade well worth it and It can be of great help to the majority of bikepackers.
Clearly, when making and installing the extensions, it’s important to ensure that they are the correct length so they don’t prevent the brake lever from being fully pressed against the handlebar within the bar ends.
product:
BELL


I always ask myself “ am I the only bikepacker that has a bell mounted on his bike?”.Well I want to emphasize the importance of having a bell on your handlebar. I may not exactly fit the stereotype of an Italian you might imagine—shouting loudly here and there, singing tarantellas, and whistling at pedestrians to let them know I’m passing by on my bike. No, I prefer a mindful use of a classic bell in various situations:
• To alert people walking their dogs ahead of me of my approach, especially when, for different reasons (background noise, headphones, conversation, etc.), they might not hear me coming. Without a bell, surprising them could cause unpredictable reactions from their pets and perhaps unpleasant spikes in blood pressure for elderly individuals.
• To warn free-roaming livestock of my presence and observe their different reactions (This also applies in bear country, where a bell can serve as an alert system before every bend, as I tested last spring during my Olympic Gravel Circumnavigation in Washington state. It saved me from a brutal encounter with a large black bear that was peacefully doing its business in the middle of the trail. Thankfully, the sound of my bell gave the bear just enough time to “pull up its pants” and start running before I came barreling downhill and nearly crashed into it!).
• And, why not, to celebrate reaching the top of a tough climb, especially when I no longer have the breath to cheer out loud!
So I say, add those 20gr ( 0.7oz ) and mount a bell!! This is the one we recommend for price, durability and weight: https://amzn.to/4ajnetX
tip:
PETROL STOVE FIELD FLAME CONTROLLER
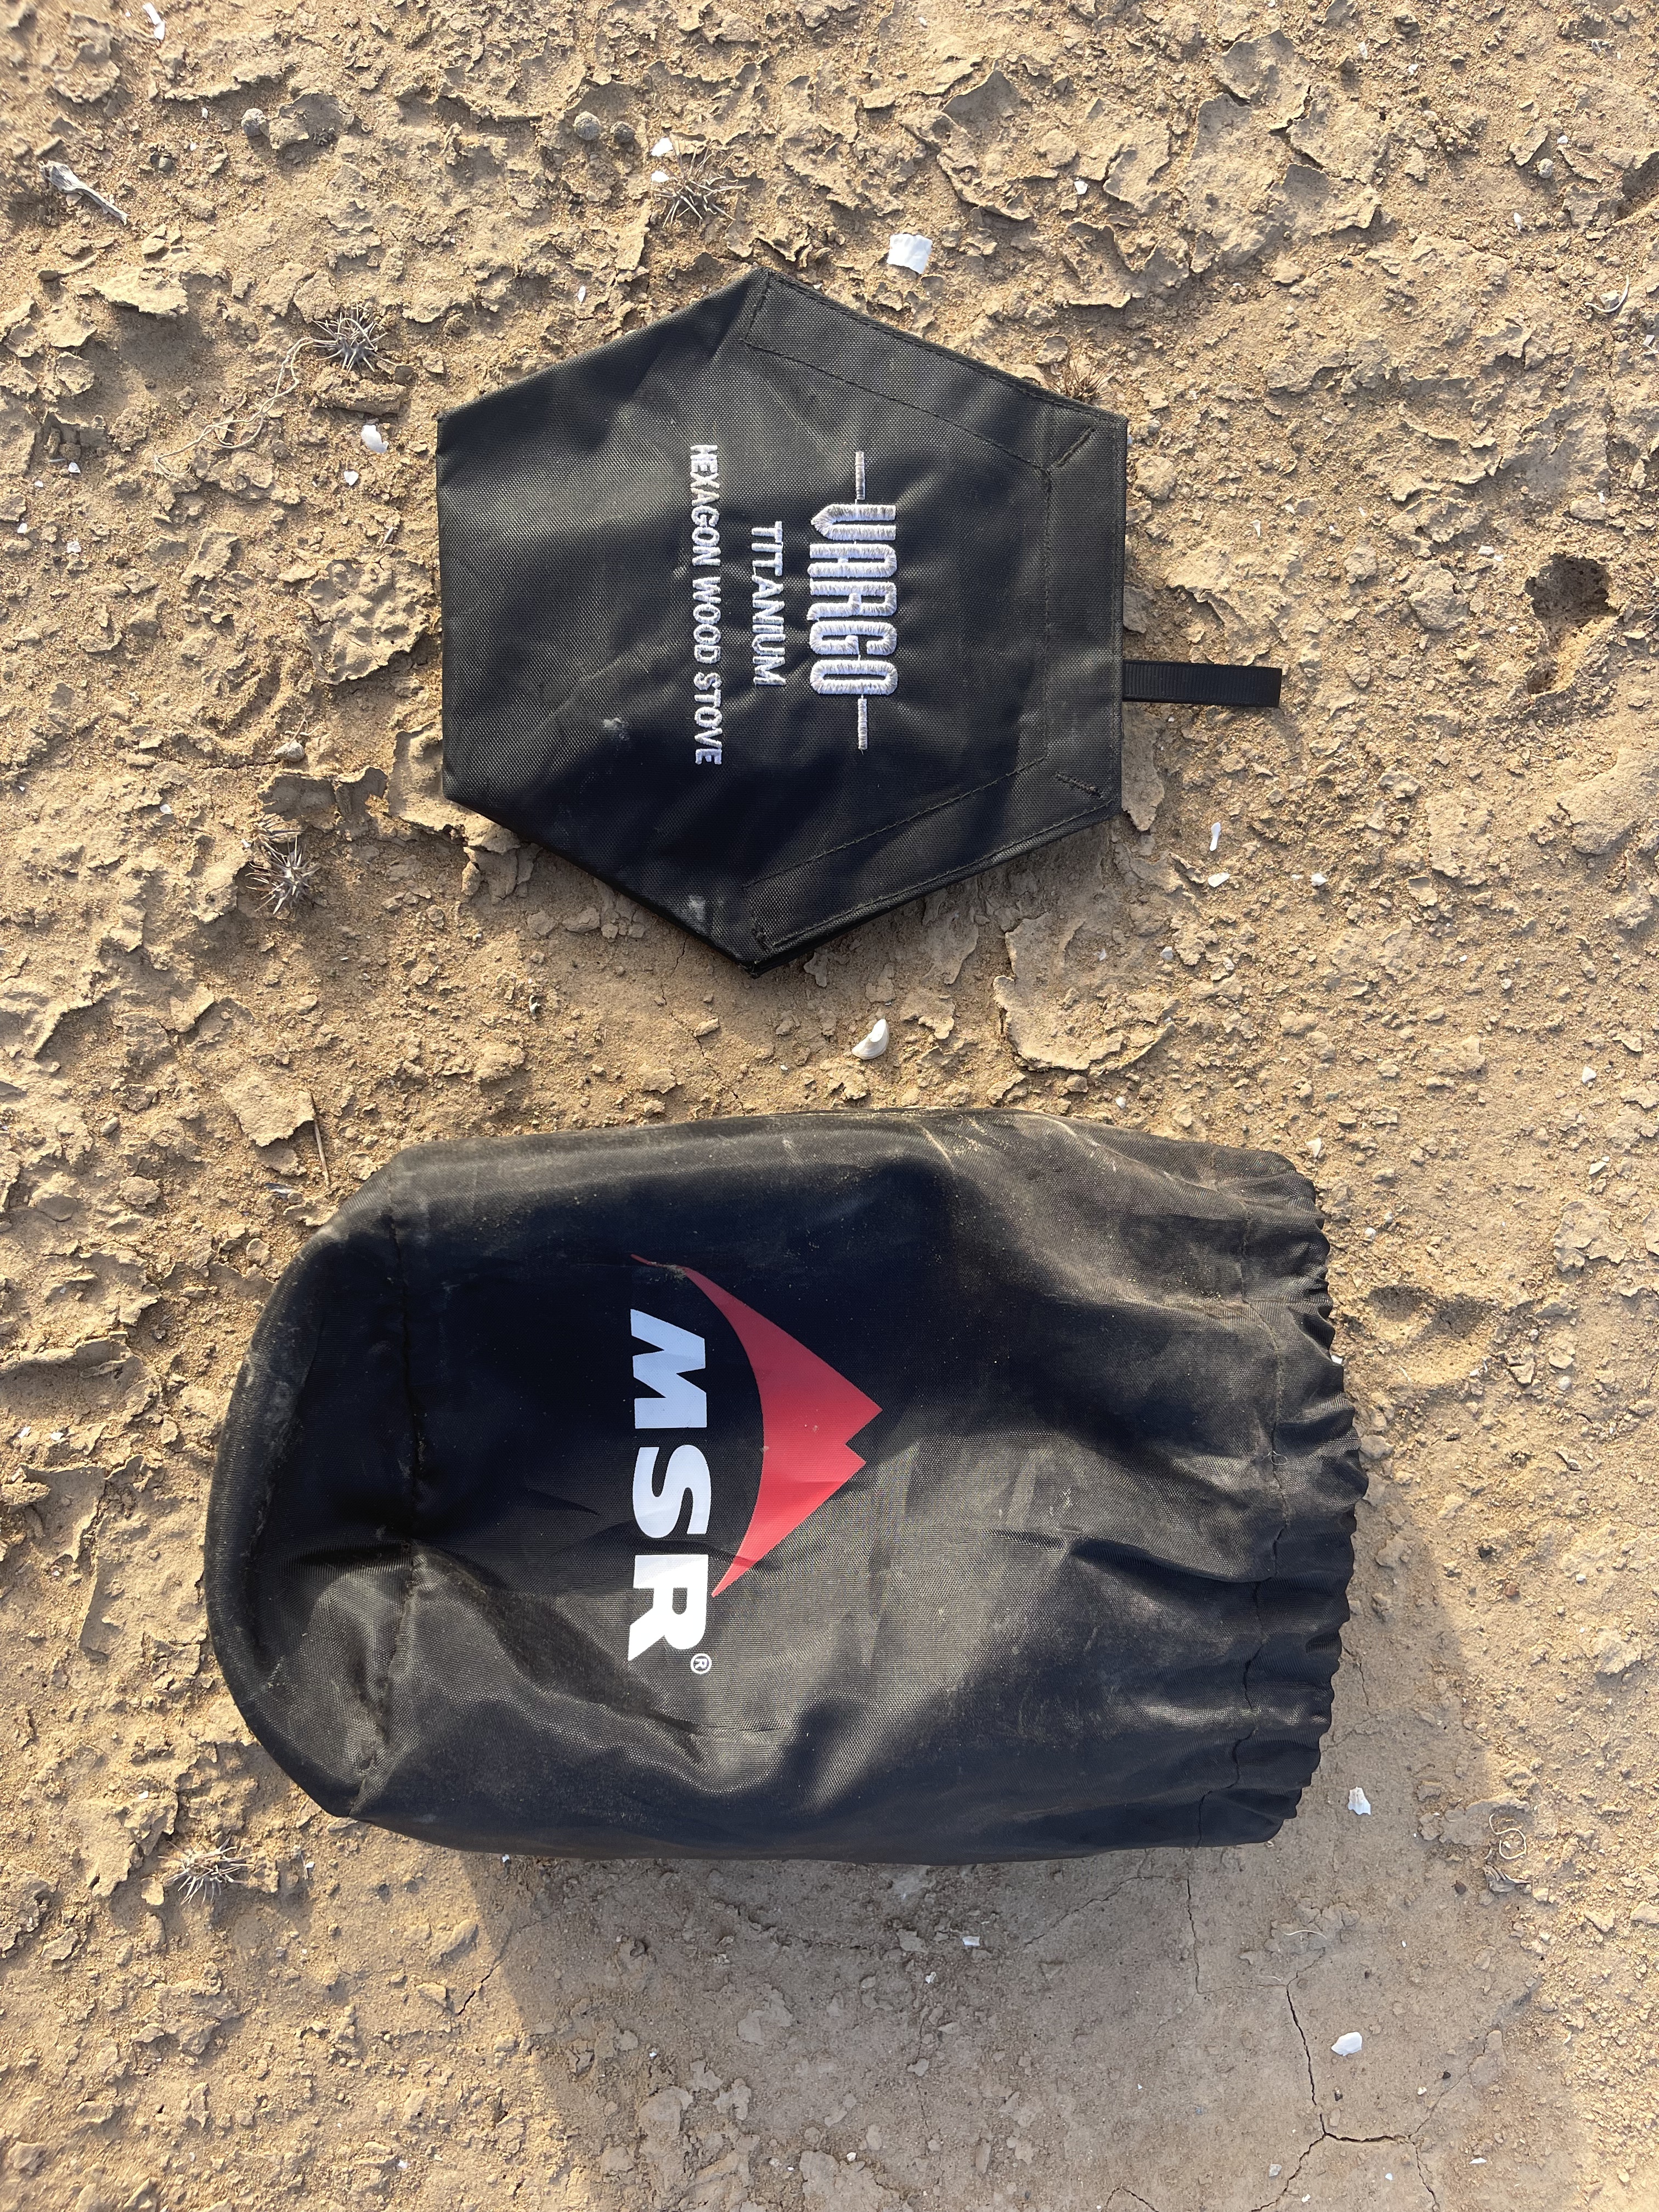
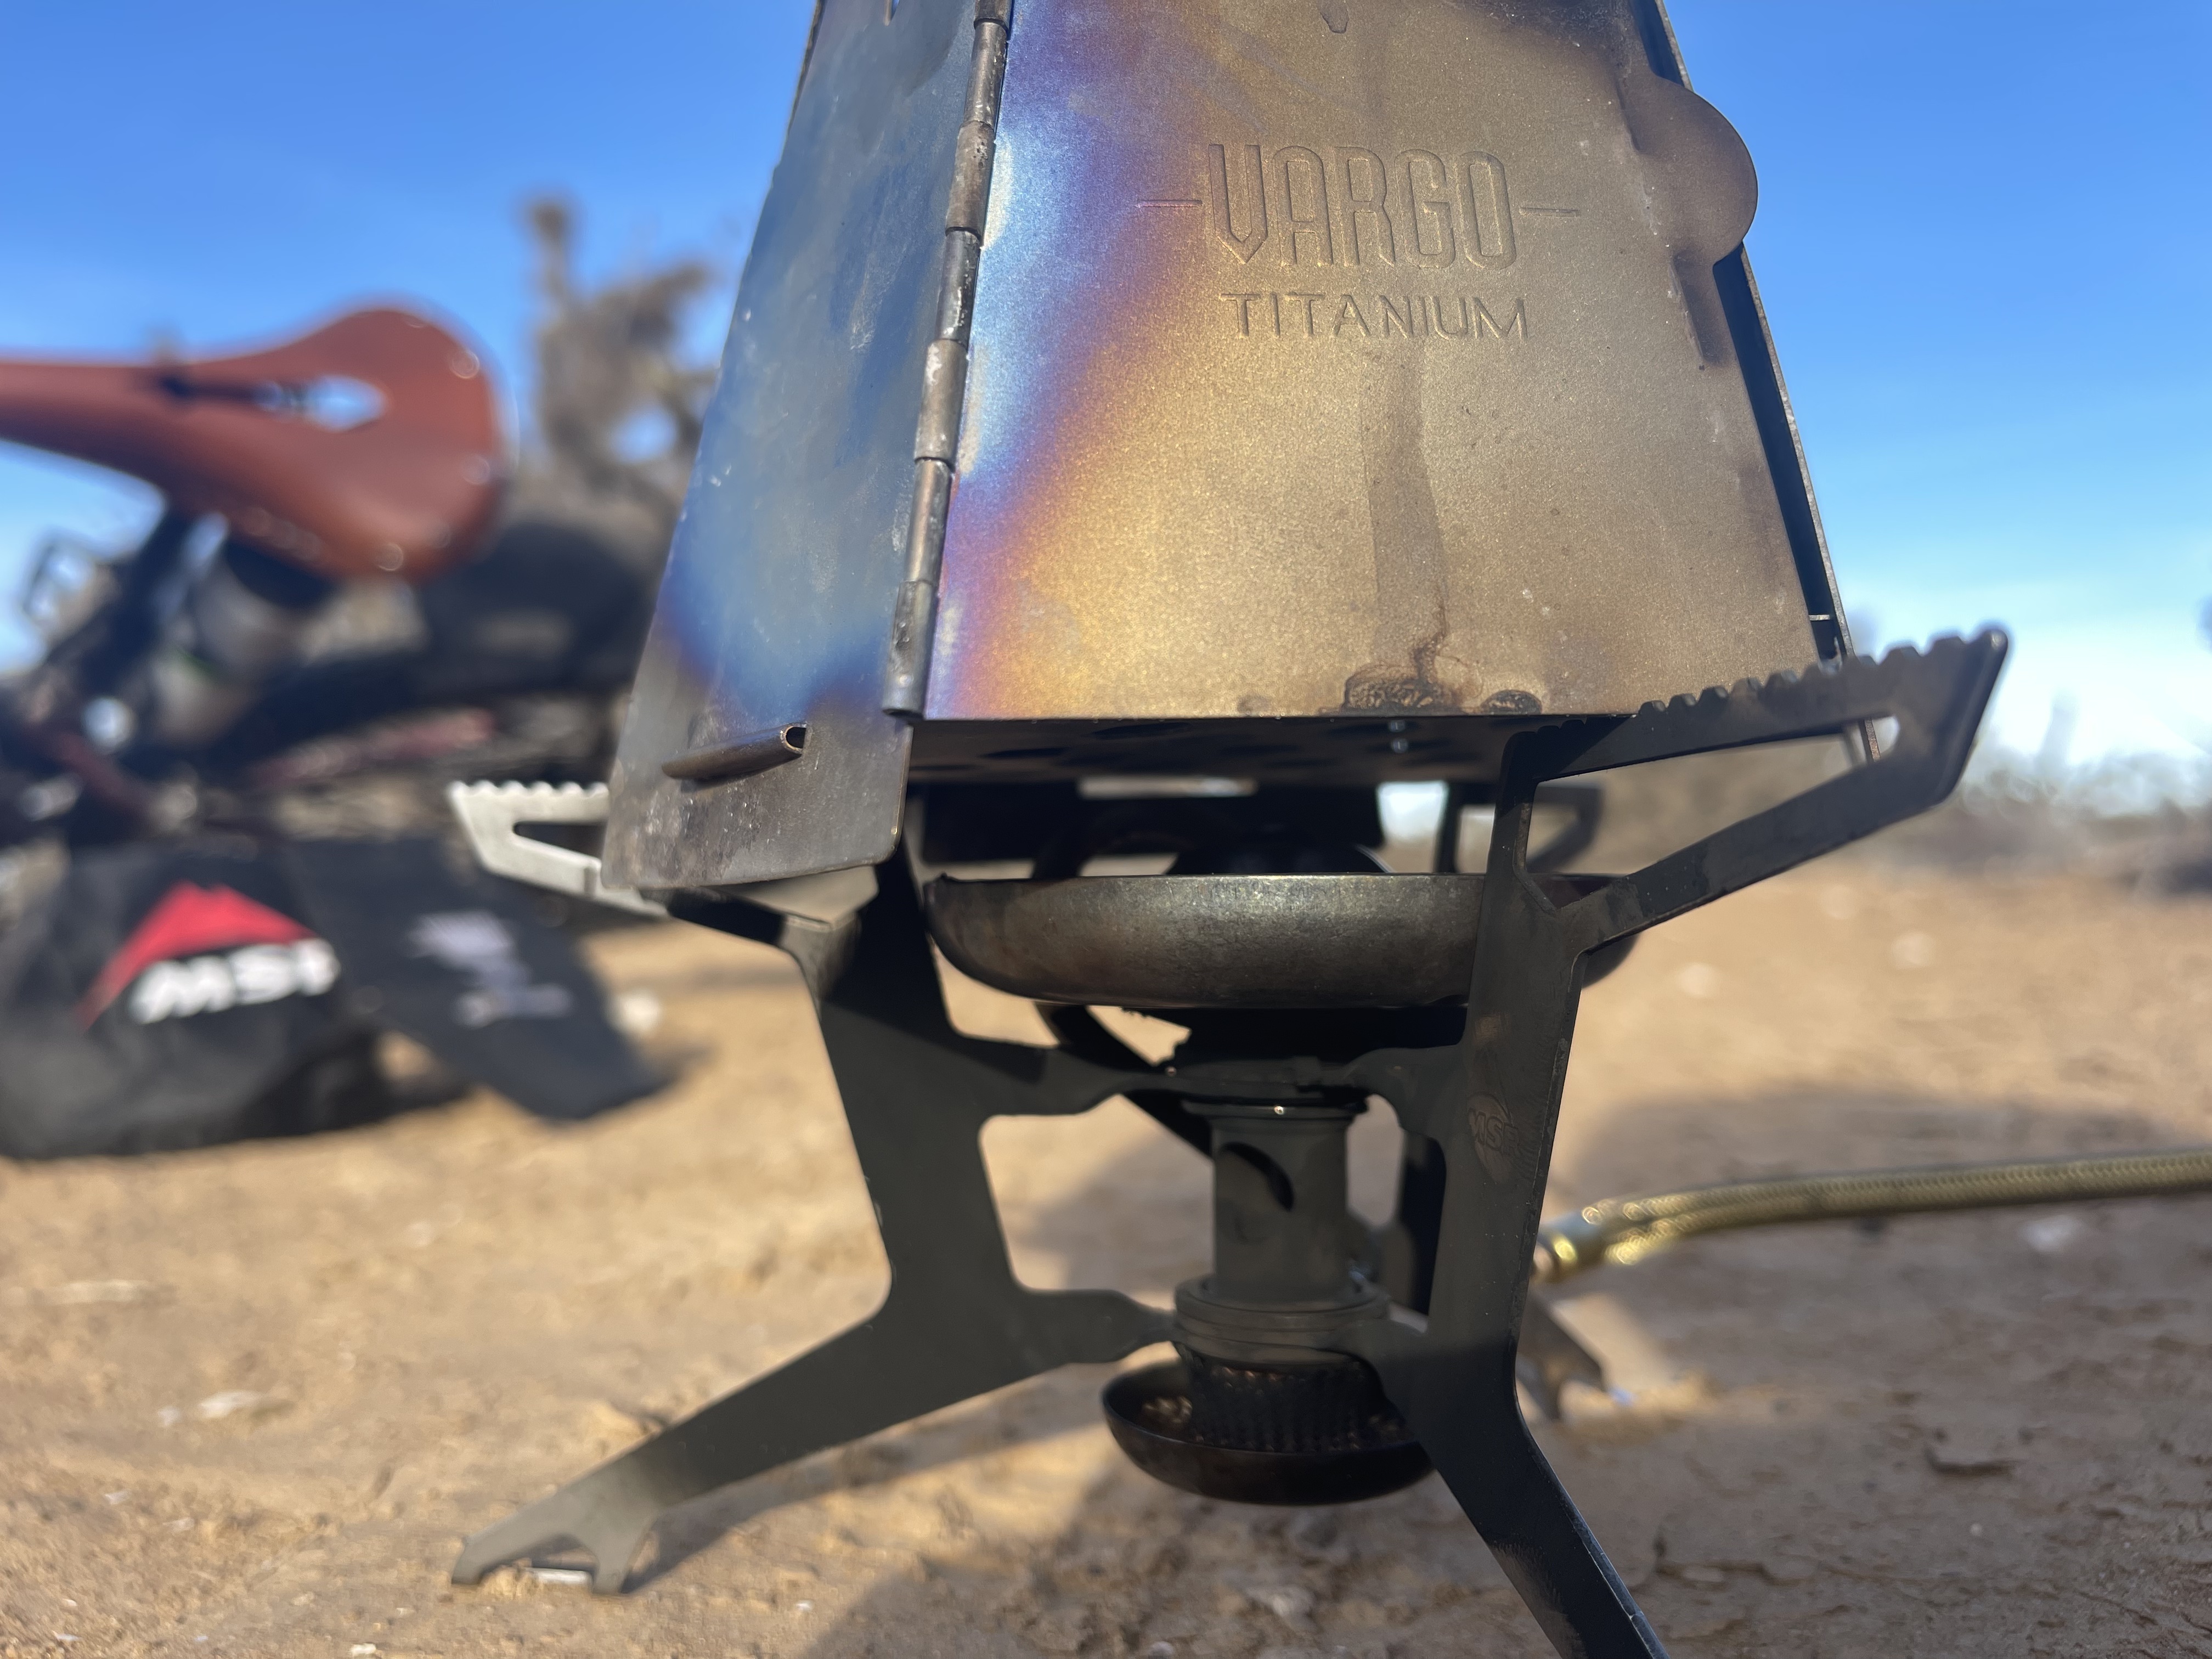
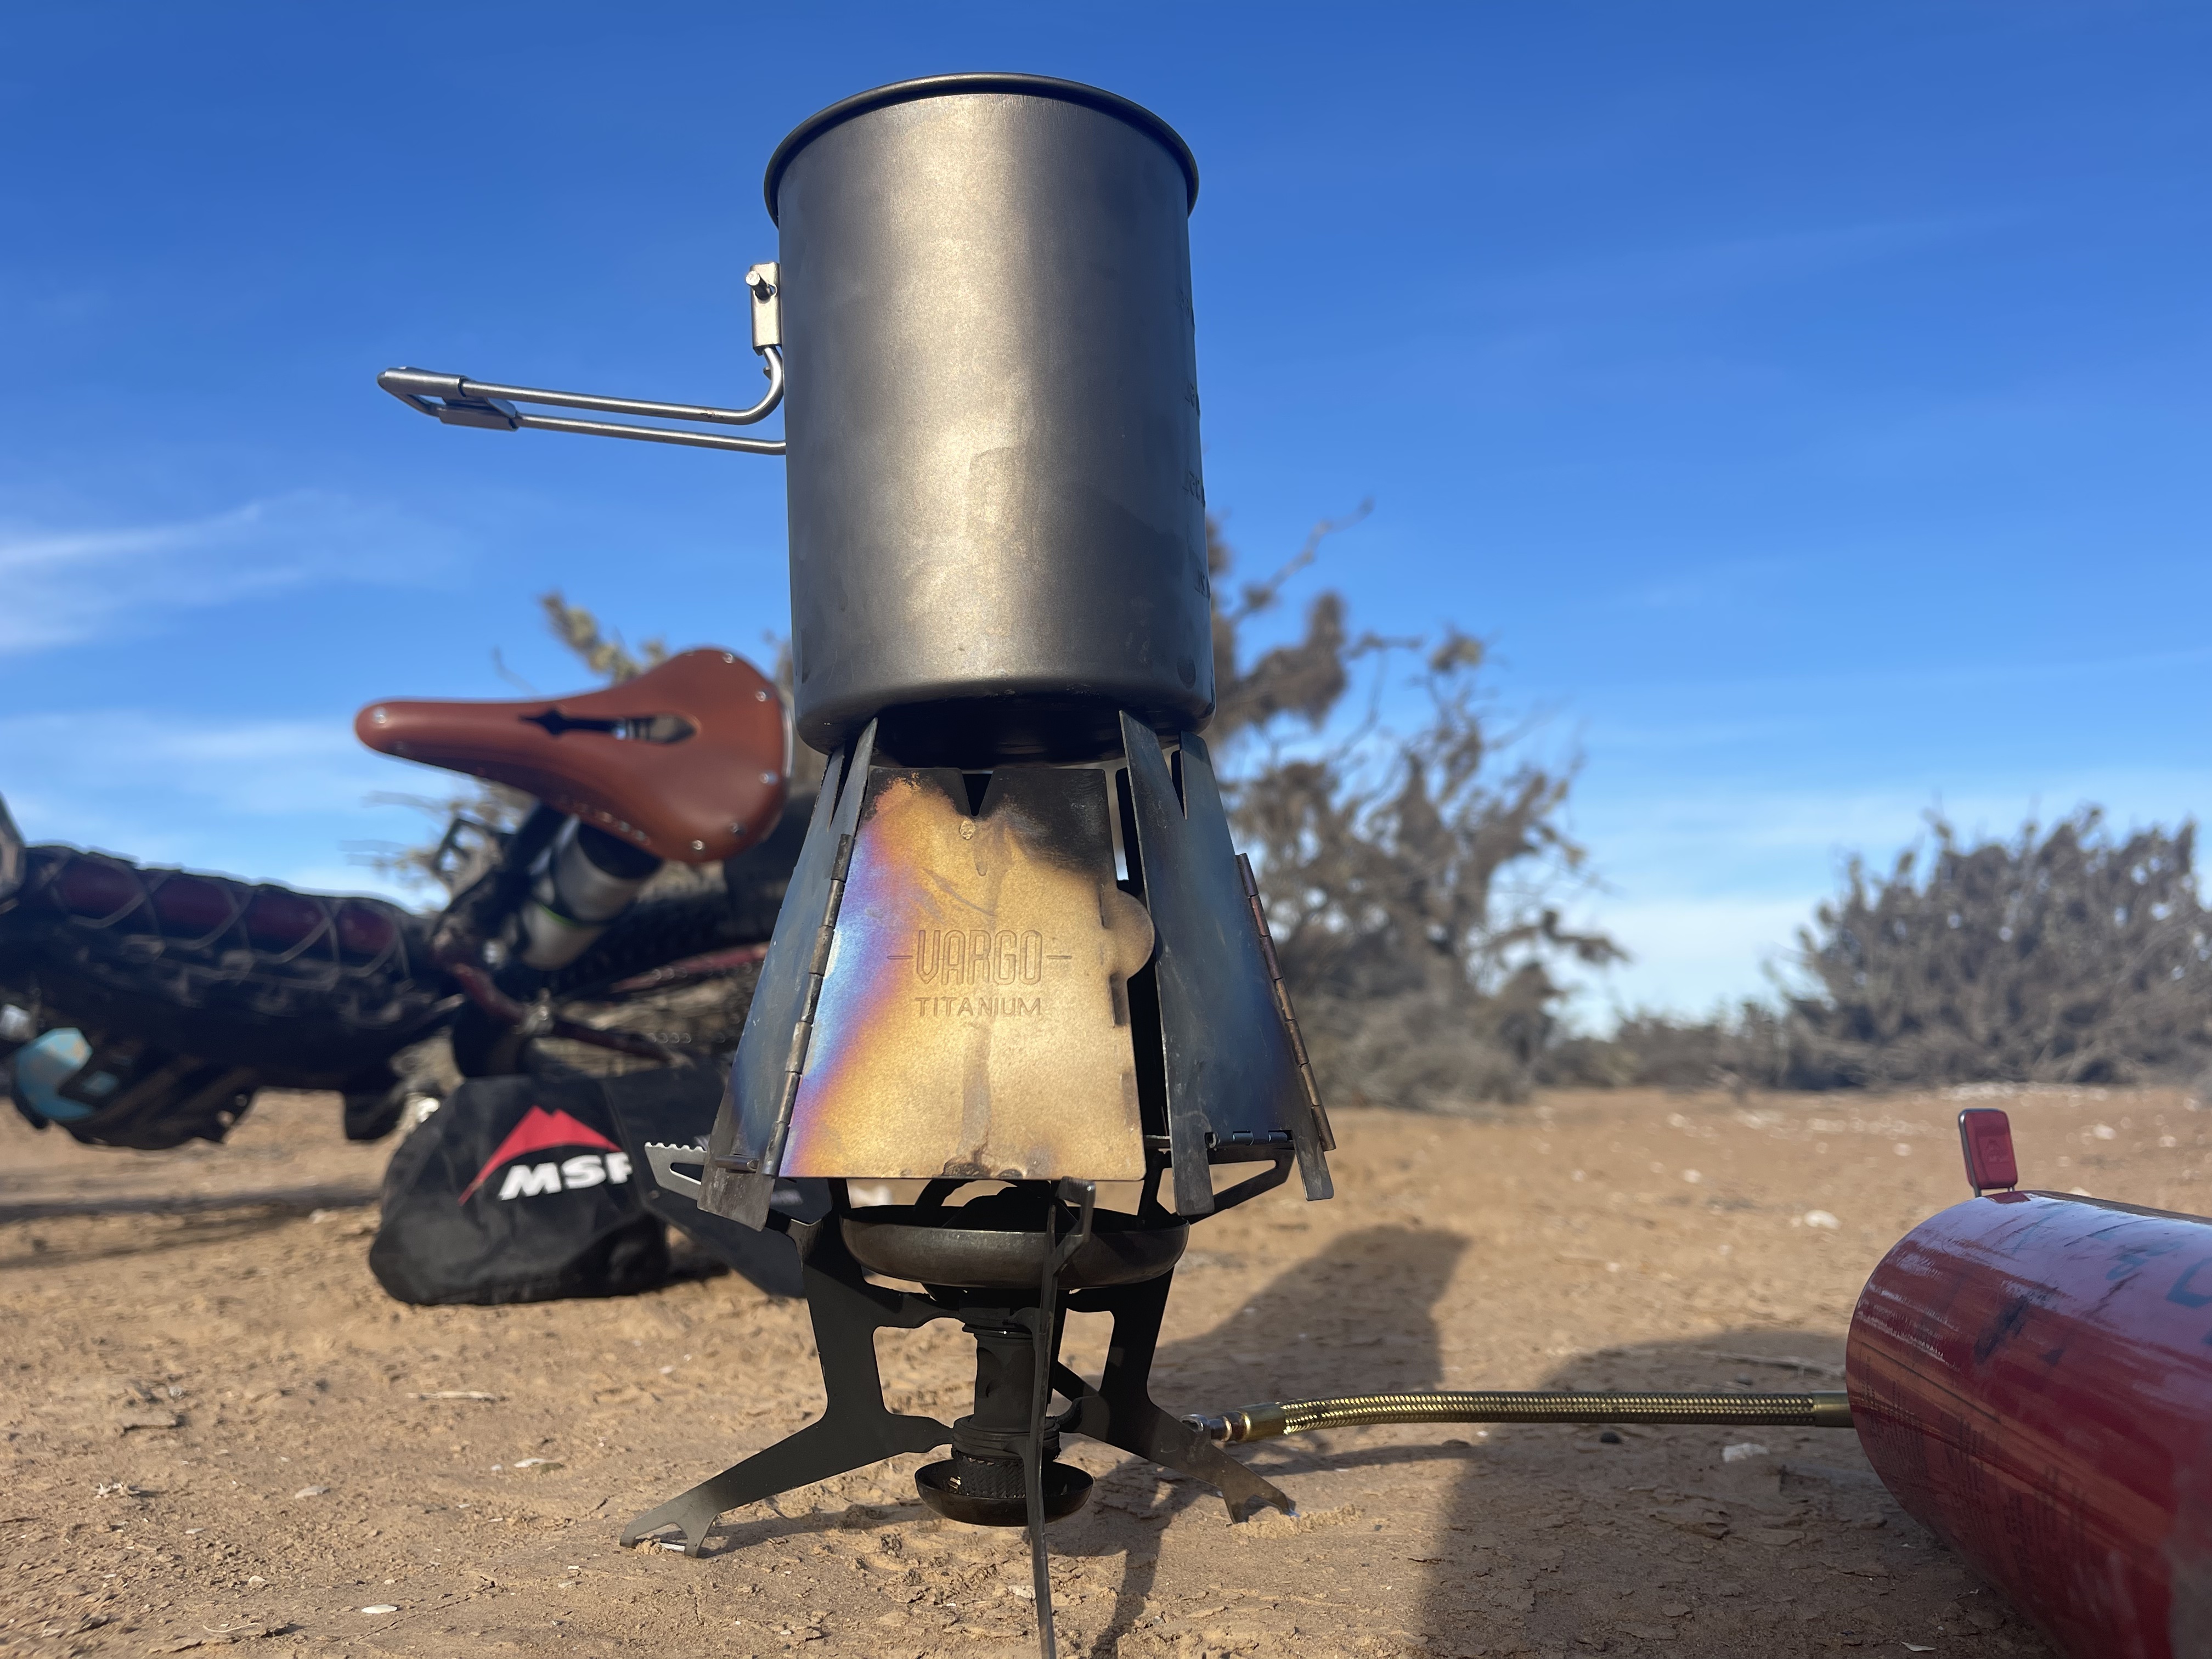

That is a big cheap one. We all know that in the desert, the risk of rain is quite remote, and it’s easy to find dry wood everywhere. Therefore, the best portable camping stove to have is probably the Vargo Wood Stove in titanium. Of course, if you’re not planning to travel only in Baja but intend to continue to the end of the American continent, it’s essential to carry a stove with refillable fuel ( like the popular end very efficient MSR WhisperLite international ) and also keep the Vargo as a backup to save gas whenever possible.
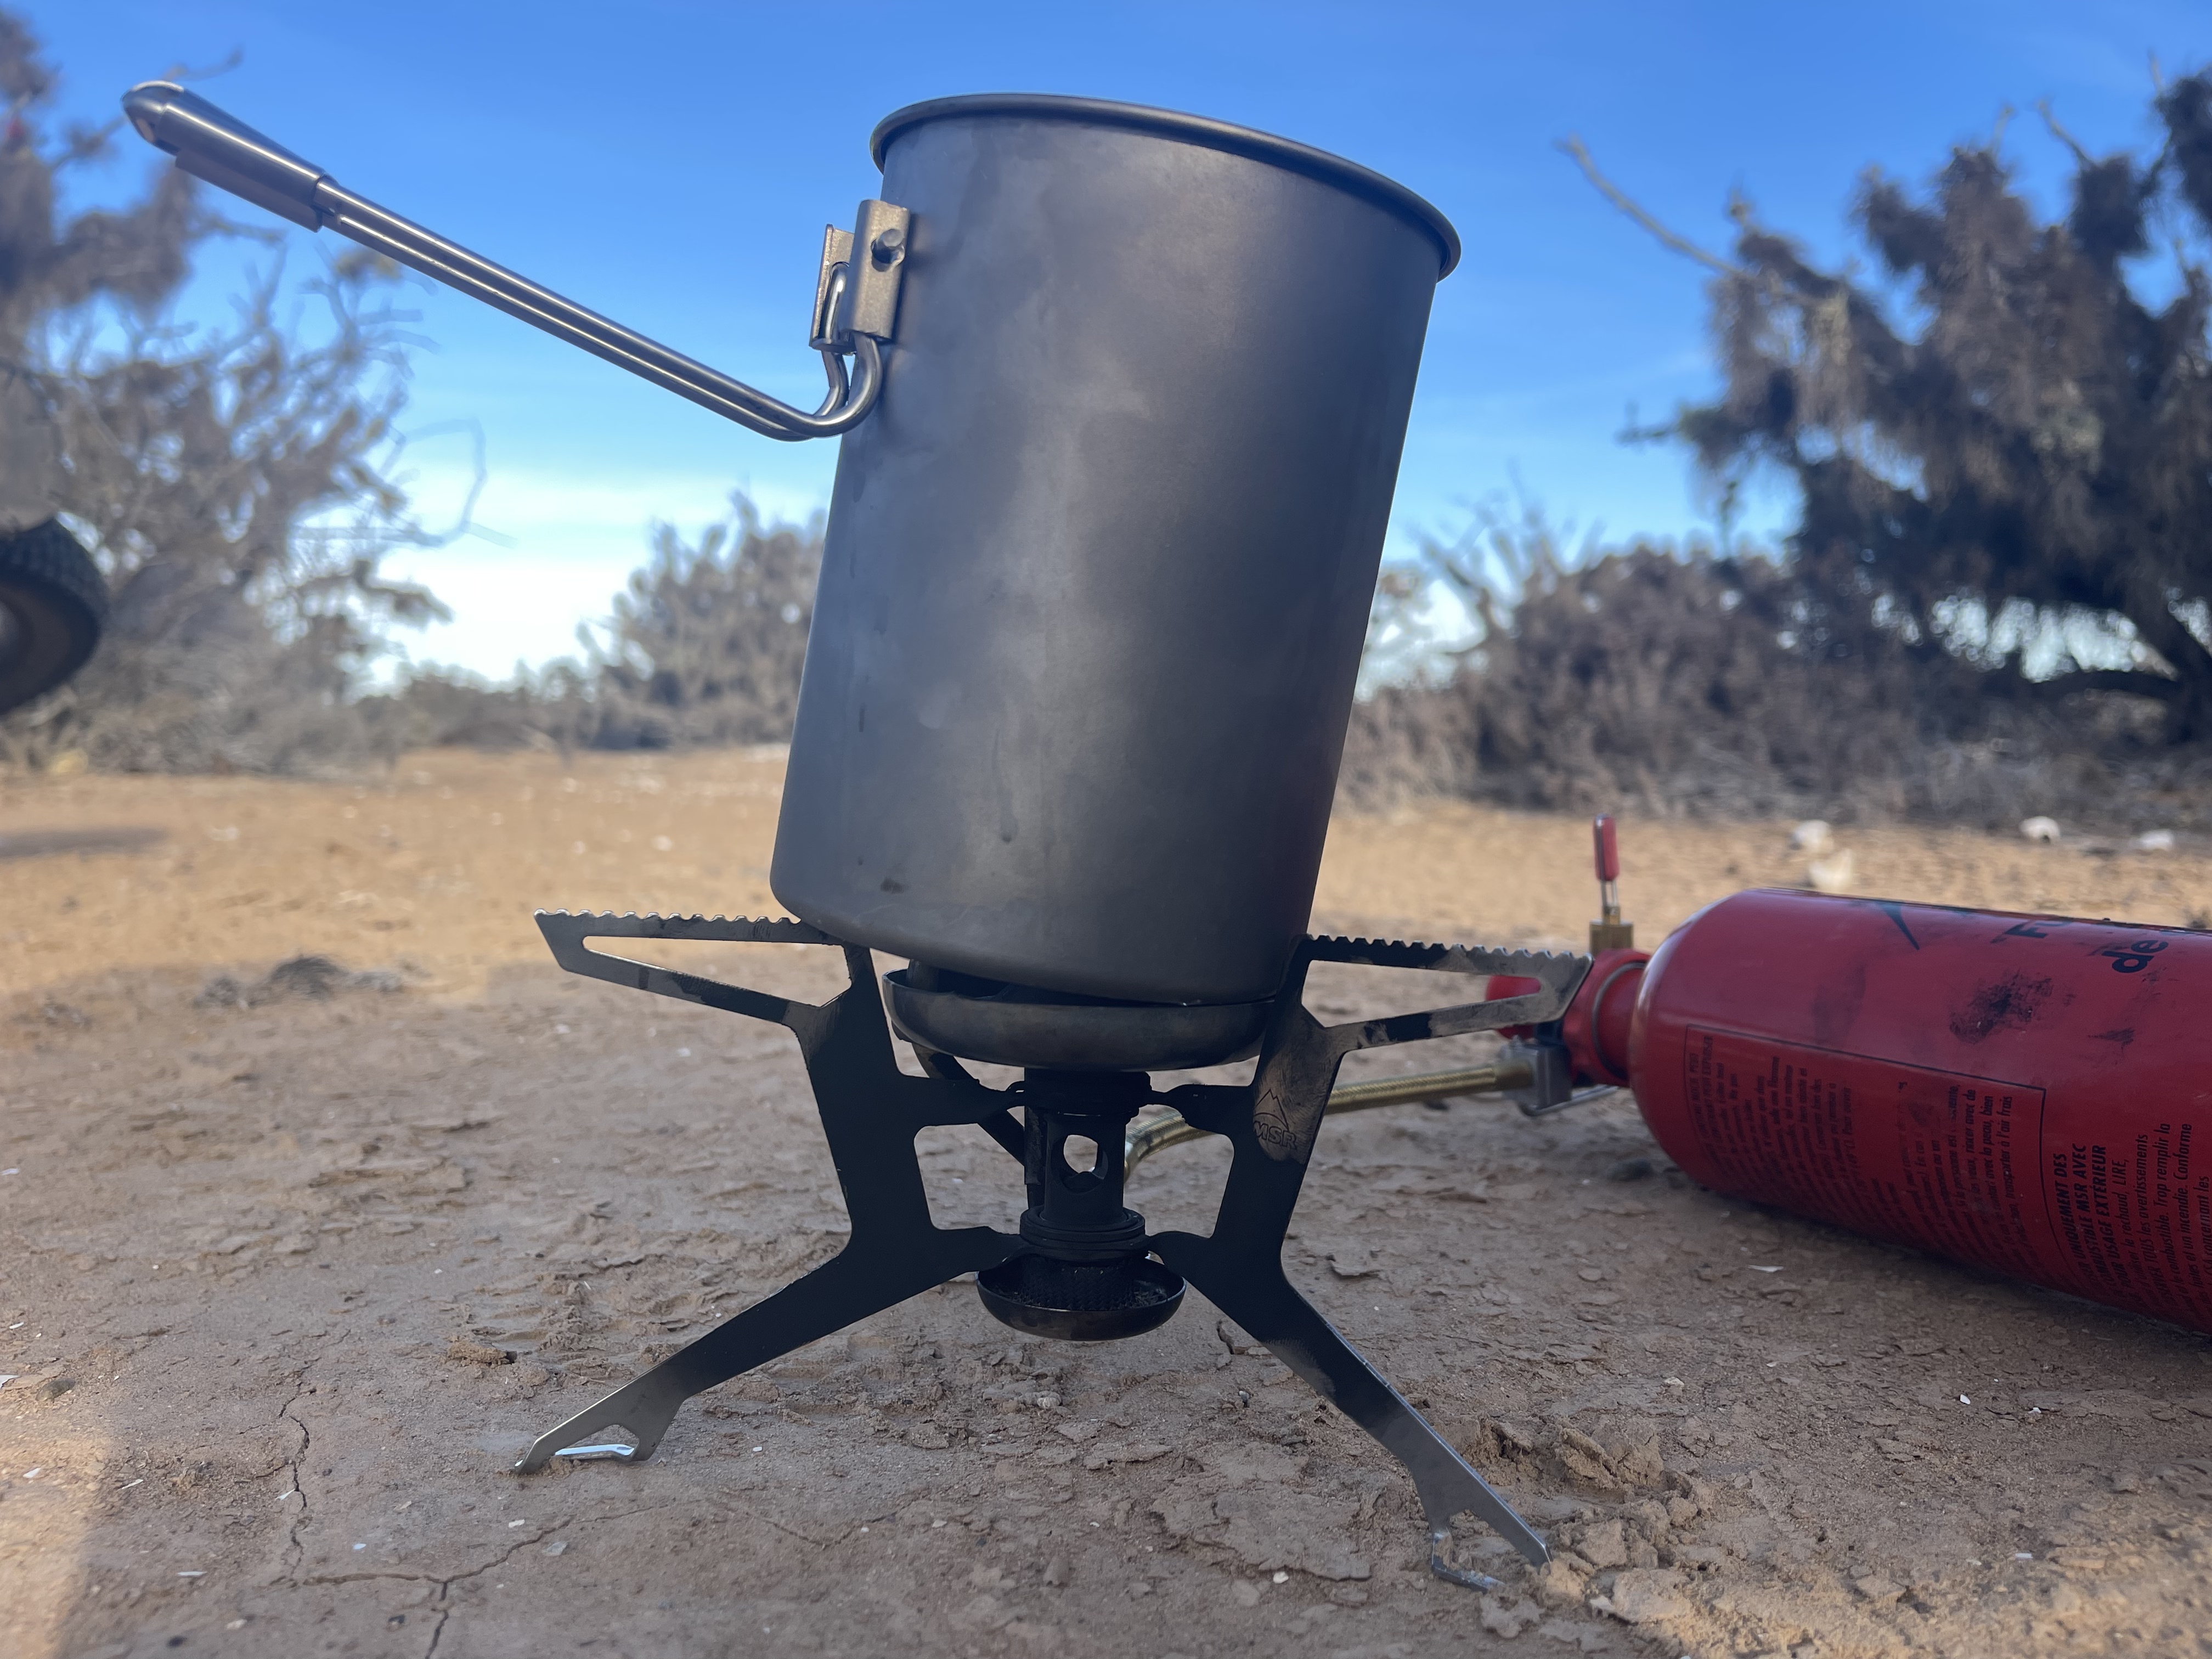
A major drawback of the incredible and highly efficient gasoline camping stoves is the difficulty in adjusting the flame to a low setting, which is necessary for slow-cooking dishes that would otherwise burn or not cook properly with the powerful flame these gear gems are equipped with.
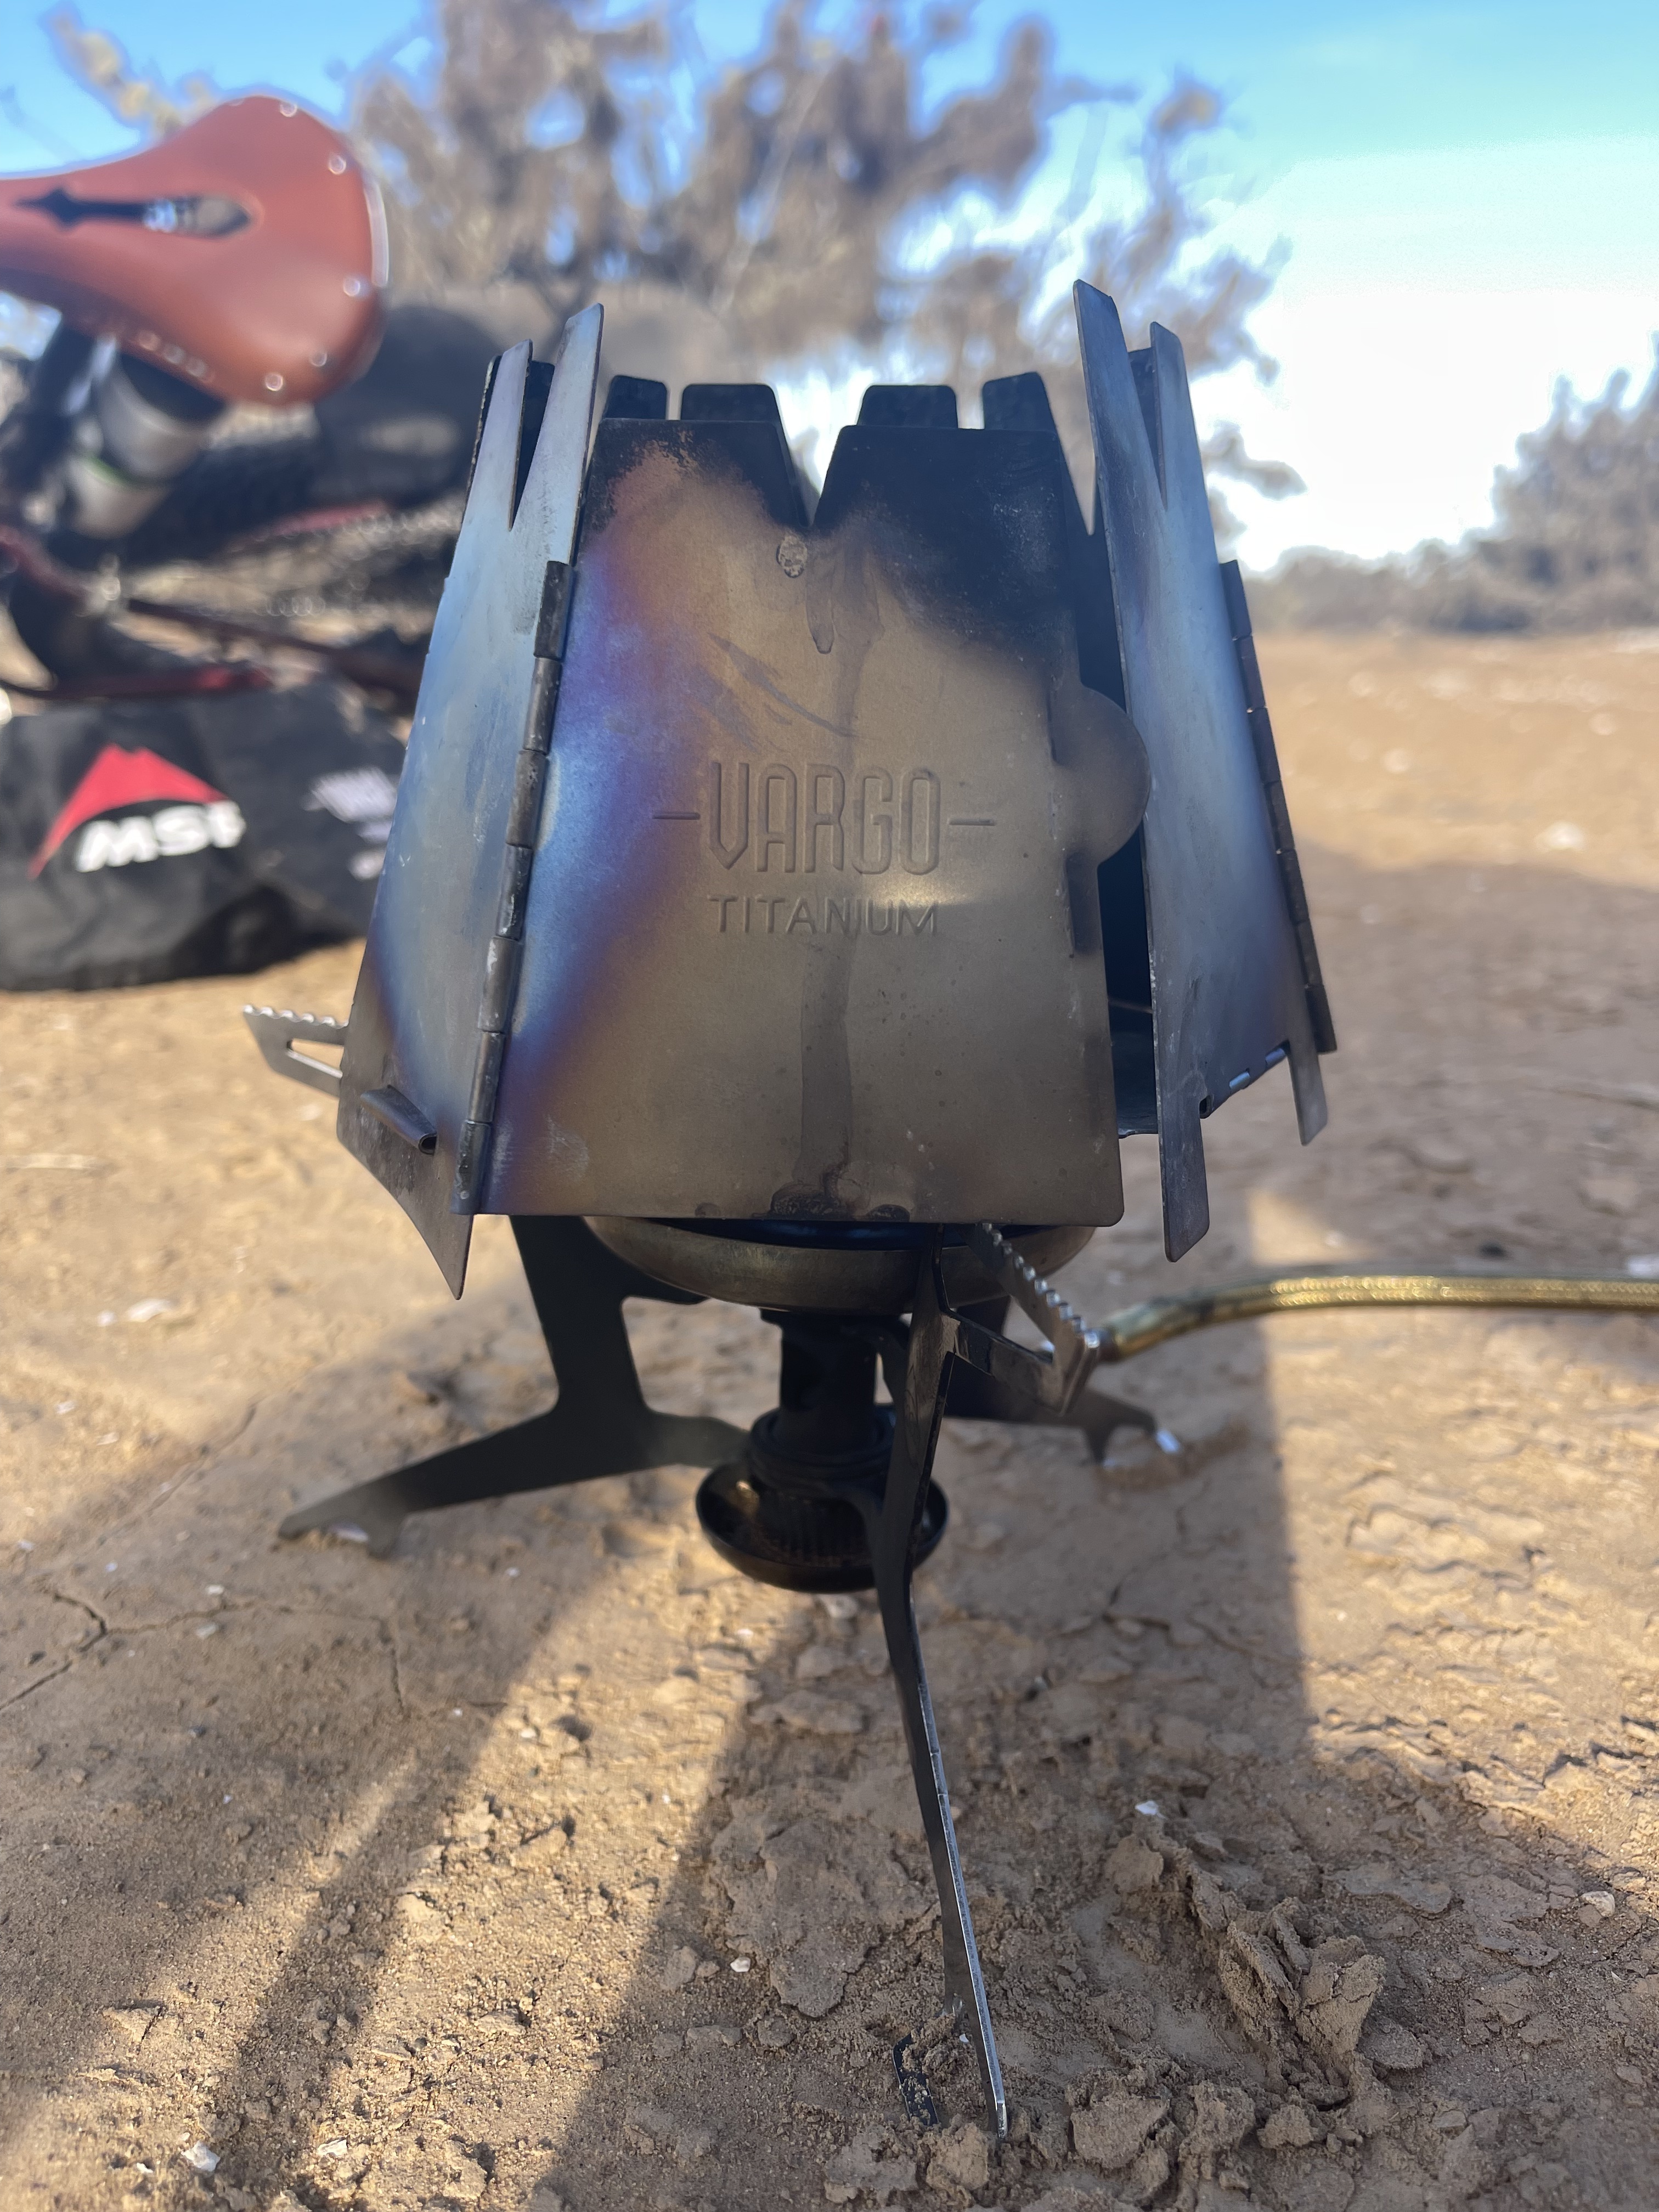
Another flaw, particularly with the MSR WhisperLite, is that the spacing between the three legs supporting the pot is too wide, making it practically impossible to balance small pots with a base diameter of less than 100mm. So, how can you solve these two issues at once? Easy: just place the Vargo on top of the MSR, and you’re good to go! Of course, you’ll need to ensure that everything is set on a solid, level surface and that there aren’t any strong gusts of wind. By doing this, you can keep the food cooking at a much more reasonable distance from the powerful flame while taking advantage of the narrower head diameter of the Vargo, which allows the use of smaller pots.
product:
MZYRH ALUMINUM PEDALS
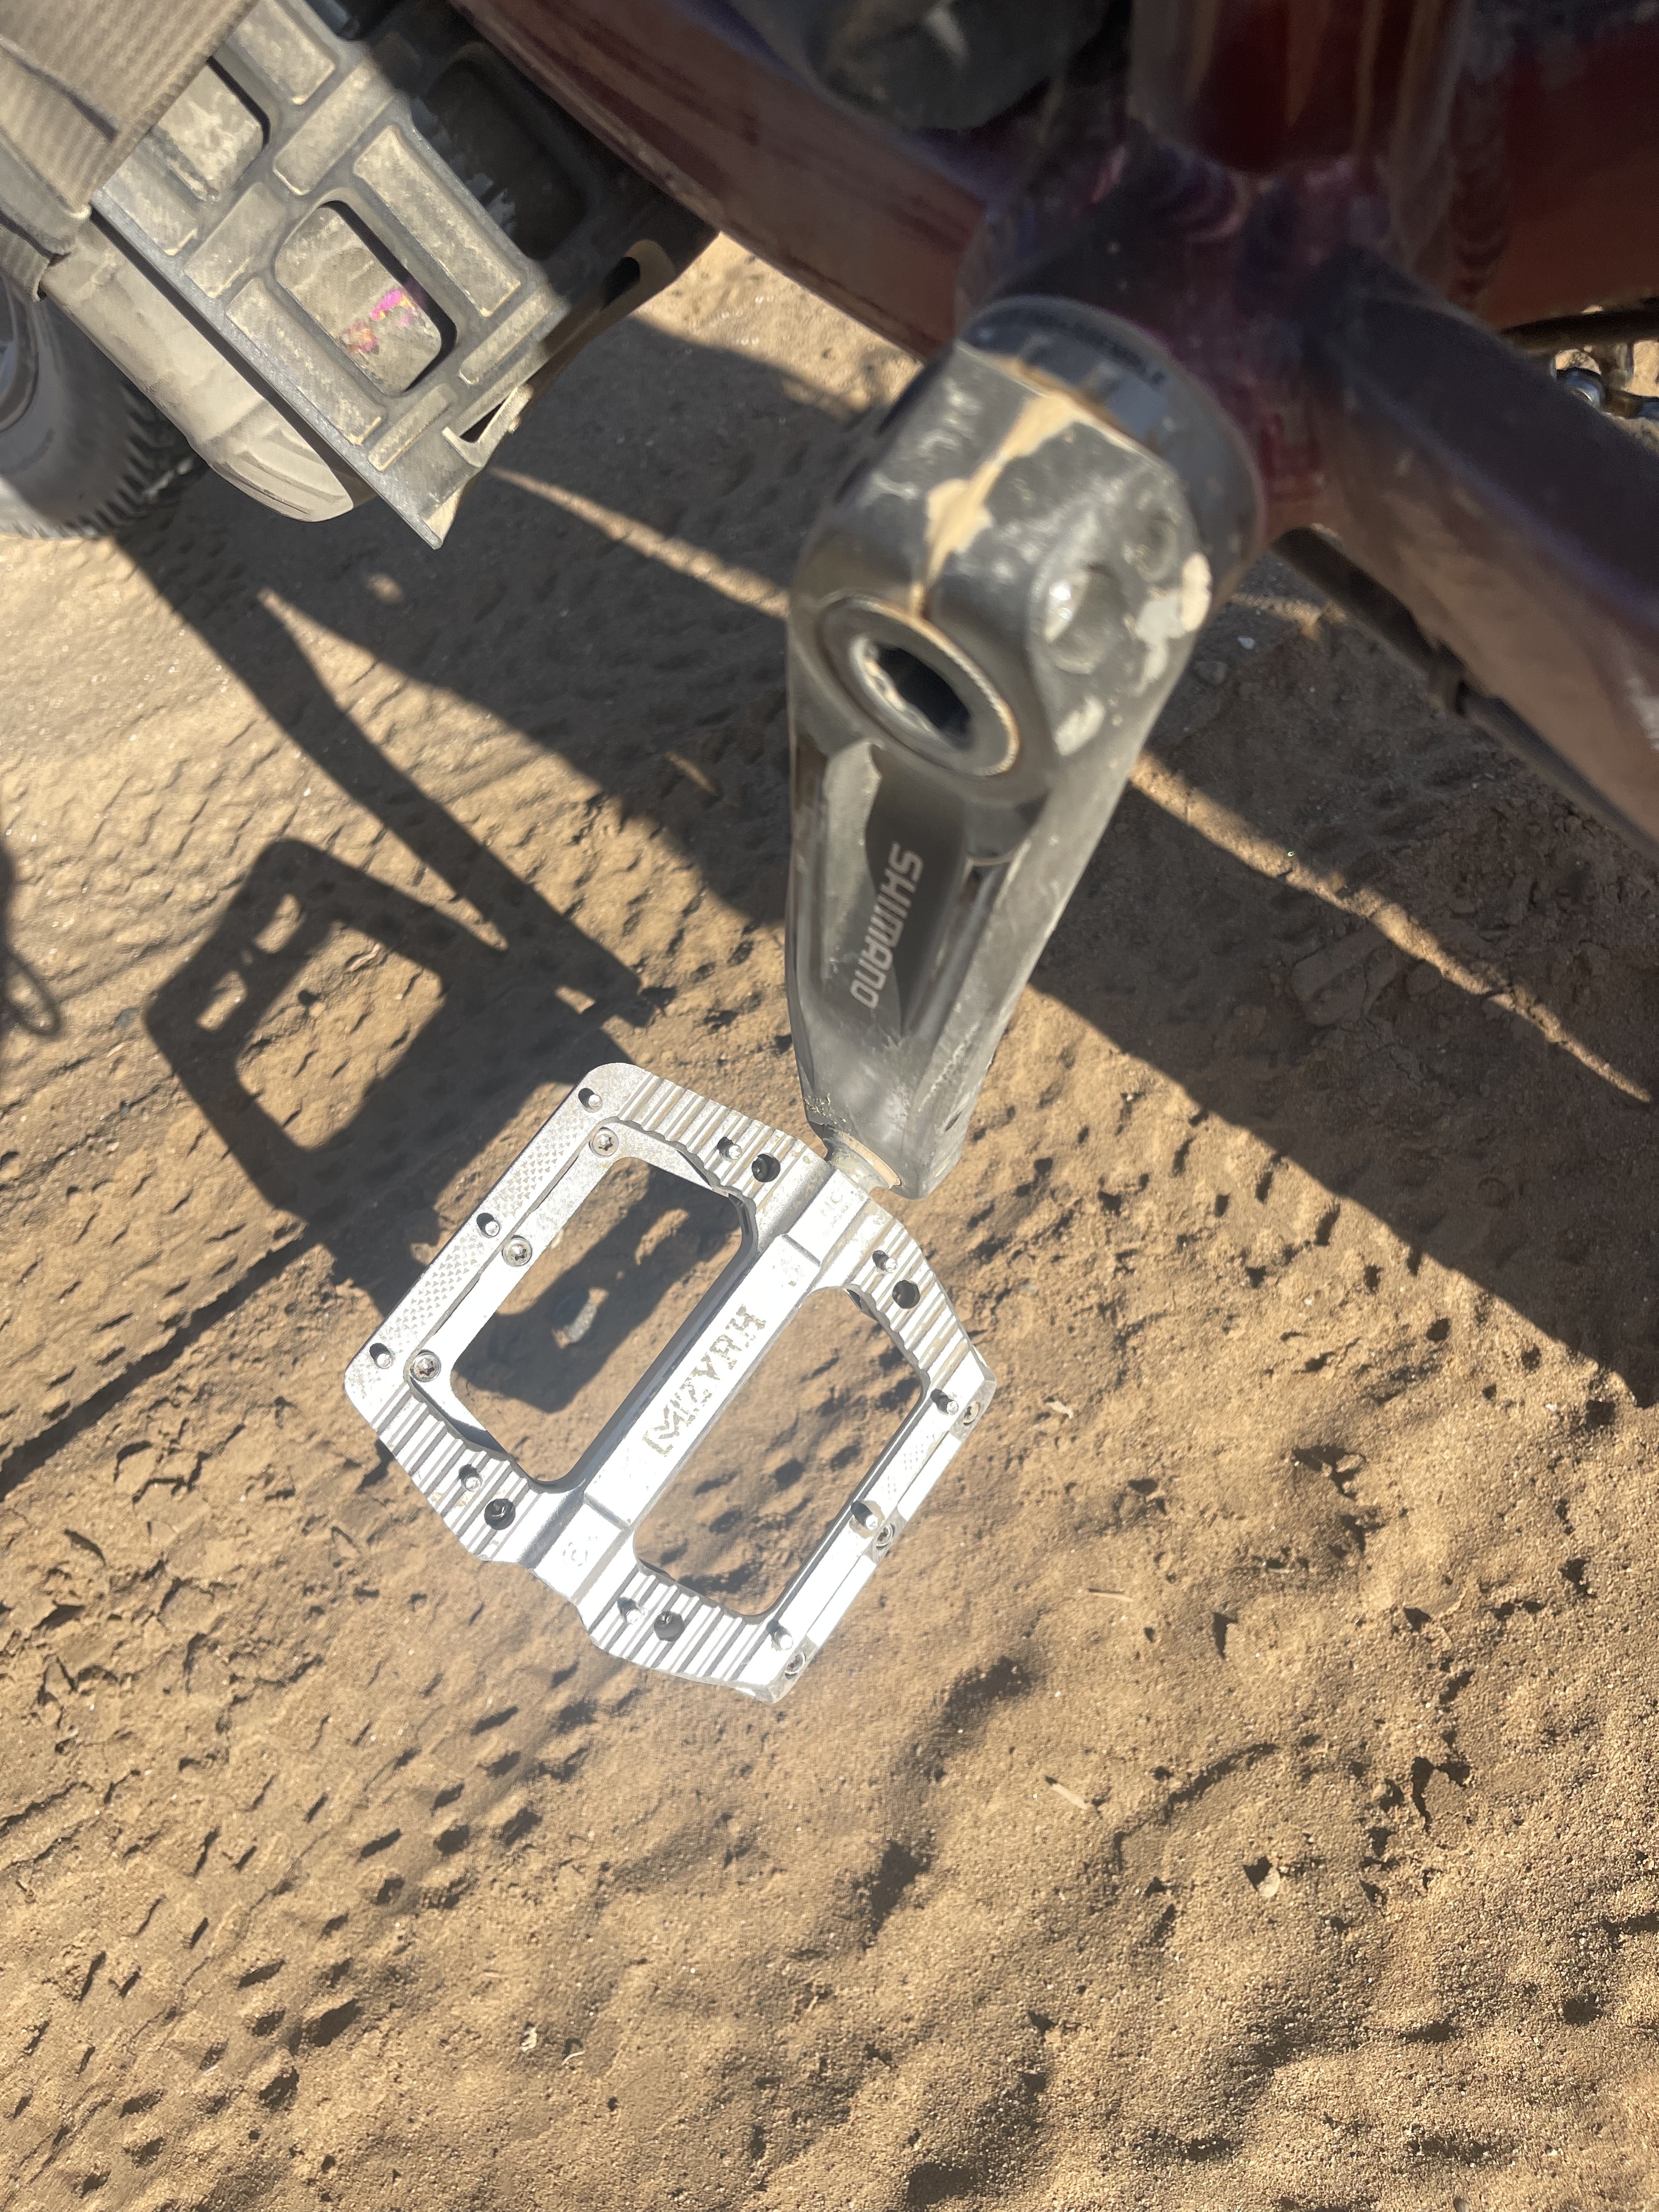


I’ve tried various types of flat pedals so far, including high-quality and expensive ones. So why did I ultimately choose and recommend the MZYRH aluminum pedals? Because they’re efficient, lightweight (402g/0.88lb for the pair ), durable, have excellent grip, and are affordable.
To be honest, since switching to a rigid carbon fork on my mountain bike—lowering the bike closer to the ground by a few centimeters—I’ve been hitting rocks more frequently, both on corners and while climbing the rocky trails of the highlands. The MZYRH pedals have held up perfectly so far, and knowing that I’m hitting rocks with a $26 piece of equipment instead of a $100+ one makes for a much more relaxed ride.
Additionally, the wide platform and pins provide perfect grip and traction, and the slim profile doesn’t compromise the bike’s aesthetics. The sealed bearings keep dust and water out, and so far, the seals have also withstood the dryness of the desert without squeaking (a problem I’ve had with the Spank Oozy Reboot ).
There’s a nylon version available, but I honestly believe aluminum can take a few more hits before cracking.
Mattia Dalvit ( @busyerode )

Leave a comment